
Step 1: print at 100%
In the print dialog, choose 100% (some programs call it “actual size,” “scale none” or “original size”) and turn off “fit to page” and “shrink oversized pages.” Quilting Daily warns that Fit to Page and Fit to Printable Area resize a pattern, and its author found a fit-to-page print about 1/16 inch short, which is enough to make blocks mismatch. Use US Letter (8½ × 11 in) paper, and open a downloaded PDF in a full PDF reader instead of the browser, where the scale setting is harder to find.
Step 2: measure the test square
Print this page and measure the shapes below with a quilting ruler. On a screen they will not measure true, because screens scale everything; only the printout counts.
If the 1-inch square measures 1 inch, you are done. If it does not, check that “fit to page” is off and reprint. If it is still off, correct for the printer: divide 1 by what you measured. A square that measures 0.97 inch needs 1 ÷ 0.97 = 103.1%, and one that measures 1.03 inches needs 97.1%. Our template resize calculator does this for you and tells you whether the result still fits on a Letter page. Treasurie’s printing guide adds one habit worth copying: for a multi-page pattern, print only the test-square page first.
Step 3: tile big templates
A template larger than a sheet has to be printed in pieces, then taped. We use a working area of 7½ × 10 inches per Letter sheet, the area our graph paper generator uses to leave room for home-printer margins, with a ½-inch overlap between sheets. Sheets across equal (width − ½) ÷ 7, rounded up, and sheets down equal (height − ½) ÷ 9½, rounded up, in whichever page direction needs fewer.
| Piece | Size | Sheets | Layout |
|---|---|---|---|
| 6-inch block | 6 × 6 in | 1 | Single sheet |
| 9-inch block | 9 × 9 in | 2 | 2 across |
| 12-inch block | 12 × 12 in | 4 | 2 across, 2 down |
| 16-inch block | 16 × 16 in | 6 | 3 across, 2 down |
| Stocking template | 16½ × 19½ in | 6 | 3 across, 2 down |
| 24-inch square | 24 × 24 in | 12 | 4 across, 3 down |
- Print the sheets and lay them out in a grid to check that none is missing.
- Trim the overlap from one sheet in each pair, or fold it back, and line up the printed lines on the two sheets.
- Tape one row at a time on the back, then tape the rows together. Use the same method for every join, because mixing methods adds alignment error.
- Measure a known distance across the joins, such as the 1-inch square, to check that nothing slid.
Tiling advice differs from one pattern to the next, so if a downloaded pattern has its own alignment marks, follow those instead.
Step 4: make it a different size
To enlarge or shrink a template, print it at a percentage: size you want ÷ size it makes now × 100, so a 6-inch block printed at 150% makes a 9-inch block. The same calculator shows the printer-check correction above. A quarter-inch seam allowance printed on the pattern scales too, and 150% turns it into three-eighths, so trim the cutting line to a true ¼ inch after resizing. For a block with a cutting chart, you may not need to print at all: the quilt block resizer gives the cut sizes for any finished size.
Printable patterns and tools on this site
Our free quilt patterns have cutting charts that print as ordinary pages. Two that include full-size templates are the American flag quilt (a star template with its own 1-inch check square) and the quilted Christmas stocking (a 1-inch grid template). The tools below are built to print at true size.
- Quilt graph paper generator: true-scale square, on-point, hexagon and 60-degree triangle grids for sketching quilts, with heavier lines and an SVG download.
- Free printable quilting cheat sheets: six free charts to print and pin up, covering triangle unit cuts, pieces per precut, strips per yard, fractions and centimeters, and seam allowances.
- Printable quilt planner: a project sheet with fabric and cutting lists, a block tally, a layout grid drawn to your rows and columns, and a setting triangle chart.
- Applique templates: printable stars, hearts, leaves, circles, flowers and a bird at any size, with turn-under allowance or reversed for fusible web.
- Curved and 60-degree template generator: true-size templates for drunkard’s path, orange peel, clamshell, apple core, triangles, diamonds and tumbling blocks.
- Dresden plate template generator: printable blade and center circle templates for any blade count and plate size.
- Hexagon template generator: true-size hexagon sheets for paper piecing, with a count and fabric calculator for rosettes and whole quilts.
- Printable quilting stencils: continuous-line quilting designs at any size, including cable, wave, loop and feather borders and star, flower, wreath and meander blocks.
- Quilt label maker: type the details, pick a style and print at true size on fabric sheets or paper for tracing.
For a first project to print and cut, try the easiest patterns, ranked by seam count.
You might also like
 Quilt label makerType the details, pick a style (simple, star border, memorial, Quilt of Valor, signature) and print at true size on fabric sheets or paper for tracing.
 Applique templatesPrintable stars, hearts, leaves, circles, flowers and a bird at any size, with turn-under allowance or reversed for fusible web.
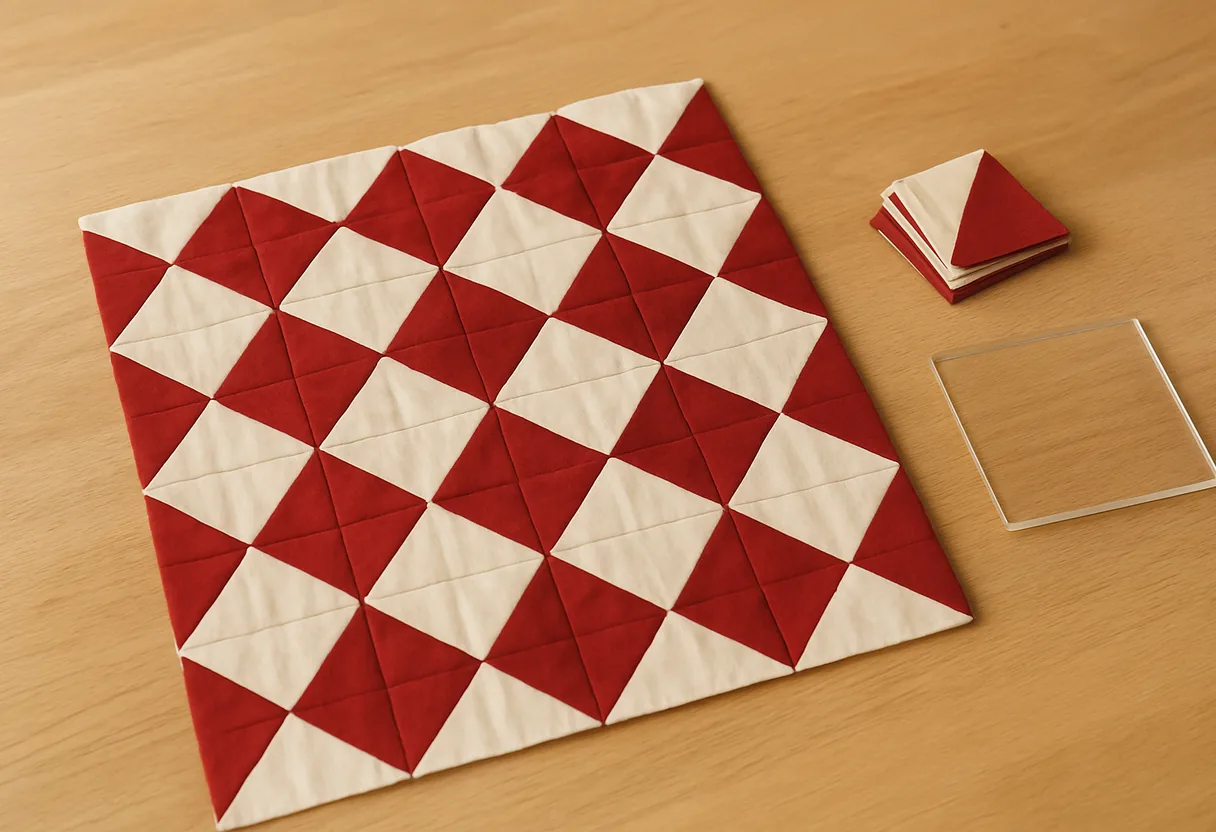 How to make half-square trianglesThe 2-, 4- and 8-at-a-time methods, a cut-size chart for each and how to trim.
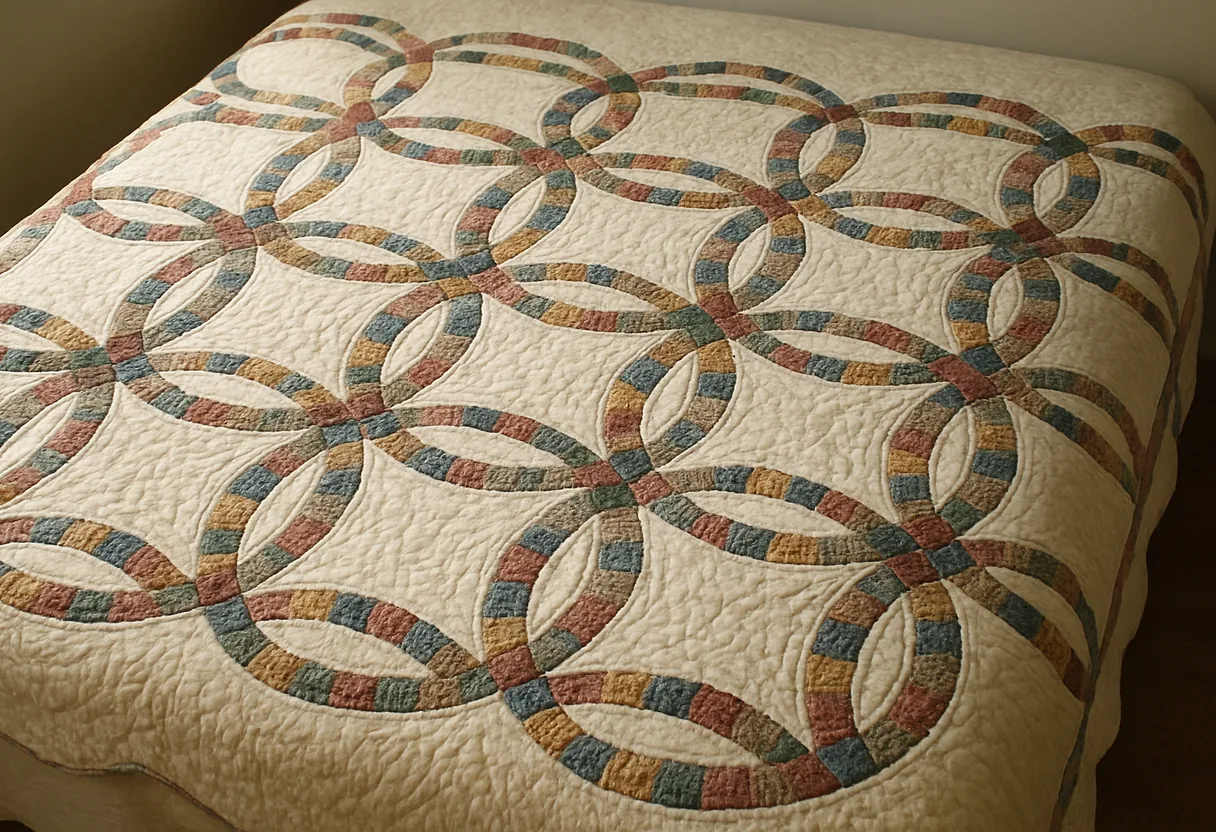 Double wedding ring quiltThe four pieces of the ring, why it's a challenge, free true-size templates for 10-inch rings, counts by quilt size and the assembly order.