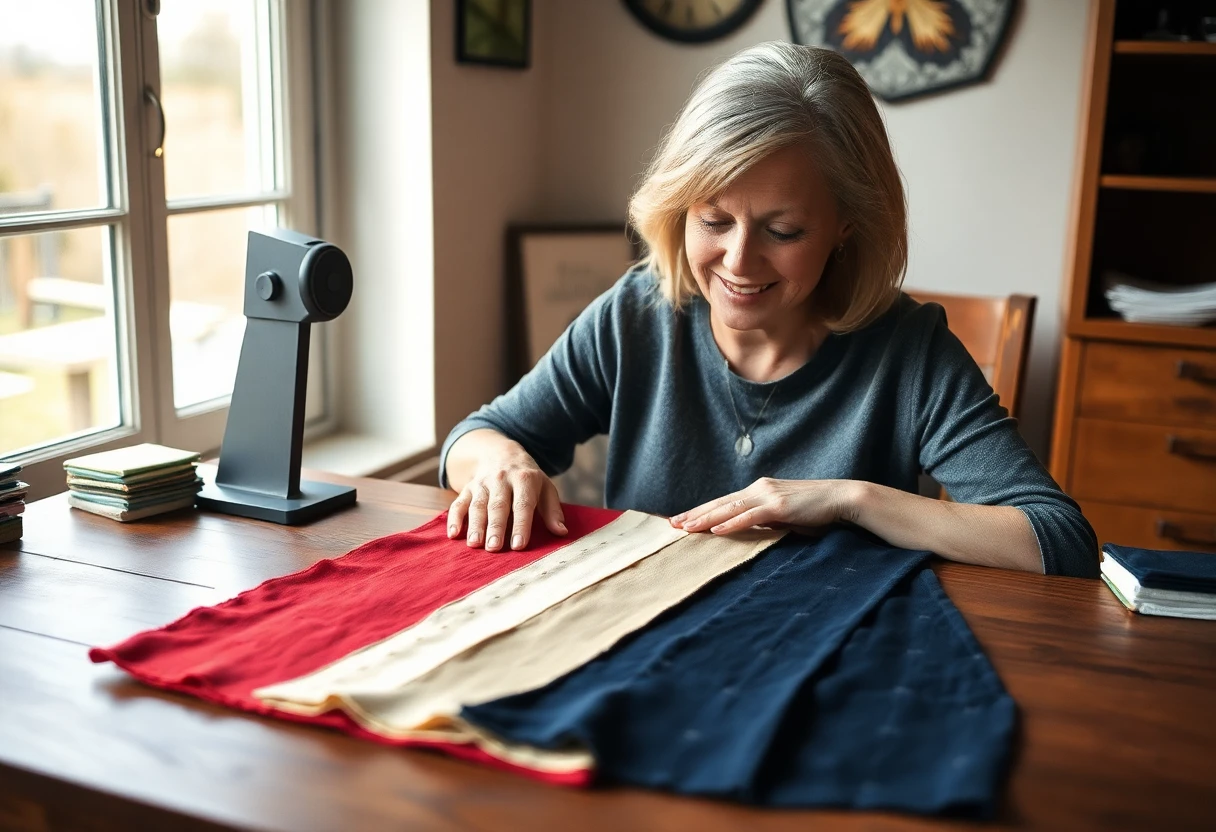
Why a sixteenth of an inch matters
A seam error is small, but it's repeated at every seam and it eats fabric from both pieces. Sew at 5/16 inch instead of ¼, just 1/16 inch too wide, and each seam loses ⅛ inch of width, because both pieces lose 1/16. Take a row of eight 2½-inch squares: it has seven seams, so instead of 16½ inches it comes out 15⅝ inches, ⅞ inch short. That row then won't match the next one, points get cut off, and borders cut from the pattern's numbers don't fit.
If you can only have one, pick consistent over perfect. A seam that's the same width every time gives blocks that are all the same size, and same-size blocks line up in rows even if they're a hair off the pattern. Get it steady first, then use the test below to move it onto the right width.
What a scant quarter inch is
A scant quarter inch is a thread or two narrower than a true ¼ inch. When you press a seam to one side, the fabric folds over the stitching and the fold itself uses up a sliver of width. Sewing slightly inside the ¼-inch line gives that sliver back, so the pieces finish at the size the pattern intended. OLFA's scant seam tutorial describes it the same way: "just a thread or two smaller than a true ¼".
The three-strip seam test
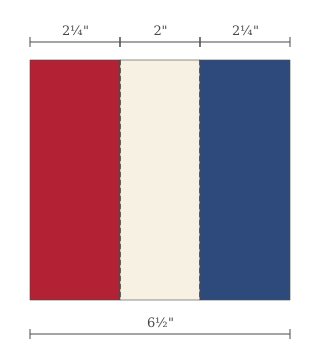
- Cut three strips of quilting cotton, each 2½ × 6 inches. Cut them with a rotary cutter and ruler; a strip that starts at 2⅝ inches will spoil the test.
- Sew the strips together along their long edges with the seam you normally use, at your normal piecing stitch length.
- Press both seams to the side, away from the center strip, the way you would in a real block. Press flat from the front so there's no pleat at the seam.
- Measure the center strip from seam line to seam line. The target is exactly 2 inches. The outer strips should show 2¼ inches each, and the whole set should be 6½ inches wide.
Reading the result:
- Center strip under 2 inches: your seam is too wide. Move the needle one position to the right or move your guide toward the needle.
- Center strip over 2 inches: your seam is too narrow. Move the needle to the left or the guide away from it.
- Exactly 2 inches: write down the needle position and the foot or guide you used, and set the machine up the same way every time.
Repeat the test after changing anything: a new foot, a different thread, a heavier fabric such as flannel, or a different machine. If you'd rather use less fabric, the same test works with three 1½-inch strips, where the center strip should measure 1 inch and the set 3½ inches.
Seam guides and presser feet
A ¼-inch foot is the usual answer. Its right edge sits ¼ inch from the needle when the needle is in the center position, so you line the fabric edge up with the edge of the foot. Many come with a metal flange on the right that the fabric runs against, which is easier than watching a line. A snap-on ¼-inch foot with an edge guide fits most low-shank snap-on machines; check the fit list against your model before ordering. Even with this foot, run the strip test. A guide that gives an exact ¼ inch may still sew a little wide for your fabric and pressing habits.
Other ways to get a consistent seam:
- Move the needle. Machines with adjustable needle positions let you shift the needle right a step or two while you keep the fabric against the edge of the standard foot. This is the quickest way to fine-tune to a scant quarter inch.
- Tape a guide. Put a ruler under the needle, lower the needle onto the ¼-inch line, and lay a strip of painter's tape along the ruler's edge on the machine bed. Several layers of tape give the fabric an edge to ride against. Check that the tape doesn't cover the feed dogs or the bobbin cover.
- A magnetic seam guide works the same way but sticks to the bed. Don't use one on a computerized machine unless its manual allows magnets.
Habits that keep the seam straight
Watch the fabric edge at the guide, not the needle. Your eye should be about an inch in front of the foot, where you can still steer.
Sew at a steady, moderate speed. Most wobbles happen at the start, when the feed dogs grab the first few millimeters of fabric and pull it sideways. Start on a small scrap folded in half (a "leader") and sew straight off it onto your pieces; the scrap takes the jerky start and keeps the corners from being pulled down into the throat plate.
Use a stitch a little shorter than the machine's default, around 2 mm. Shorter stitches hold seams that will later be cut across, as in strip sets.
Use thin thread. A 50-weight cotton takes up less room in the seam than a heavy all-purpose thread. The site's supply list covers thread and the other basics; see quilting supplies for beginners.
Pressing: to the side or open

Press, don't iron. Set the iron down and lift it before moving it; sliding it stretches the fabric. First press the seam flat as it was sewn ("setting" the stitches), then open the pieces and press from the front.
Press to the side for most patchwork. Both allowances lie on one side, usually under the darker fabric so it doesn't shadow through a light one. The big advantage is nesting: if the seams in one row are pressed left and the seams in the next row are pressed right, the two ridges butt against each other when you sew the rows together, and the corners match almost on their own. Pressing to the side also puts a layer of fabric over the stitches, which some quilters prefer for strength.
Press open where many seams meet in one spot, such as the center of a pinwheel or a star, where four, six or eight allowances would otherwise stack into a lump. Open seams also lie flatter for dense machine quilting. The cost: nothing nests, so you'll pin at each intersection, and the stitches alone hold the seam, so keep the stitch short. Many quilters mix the two in one quilt.
If a pattern shows pressing arrows, follow them. The designer has planned which seams nest.
Common mistakes and fixes
| Problem | Usual cause | Fix |
|---|---|---|
| Blocks come out ¼ to ½ inch small | Seam too wide, or a fold left at each pressed seam | Run the strip test; press from the front so seams lie fully open to one side |
| Blocks a little big | Seam too narrow | Move the needle left a step, retest |
| Seam wanders at the start | Feed dogs pulling the first stitches sideways | Sew on and off a folded leader scrap |
| Rows don't match at seams | Seams pressed the same way in both rows | Press alternate rows in opposite directions so they nest |
| Strips curve into a bow | Iron slid back and forth, stretching them | Lift and press; press the seam flat first, then open |
With the seam settled, try it on a first block: the half-square triangle guide and the nine-patch throw both depend on it. Once a top is pieced, add borders and then baste the layers. For the whole process from fabric to binding, see how to make a quilt.
Products on this page
Photos and prices come from Amazon and can change.
 Quarter Inch Quilting Presser Foot with Edge GuideCheck price on Amazon
You might also like
 Storm at sea quilt blockThree straight-seamed units that make curving waves, cut for 8, 12 and 16 inch blocks.
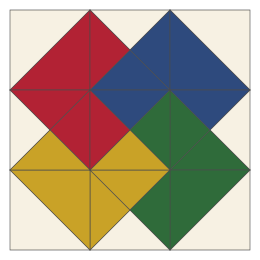 Card trick quilt blockFour "cards" that seem to overlap, from half and quarter triangles, cut for 6, 9 and 12 inch blocks.
 How to label a quiltWhat to write on a quilt label, four ways to make one and how to sew it on.
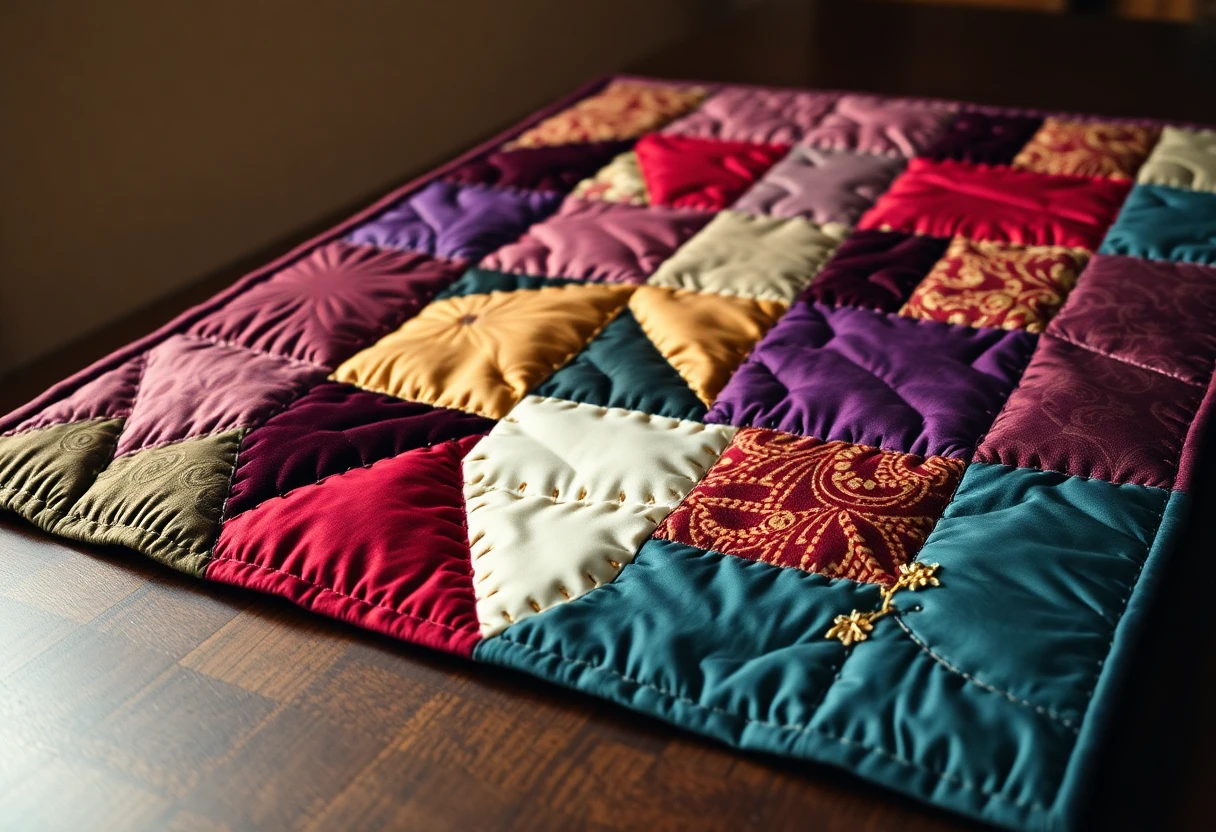 How to make a crazy quiltOdd-shaped scraps sewn to a foundation, then every seam covered with embroidery.