How the zigzag works
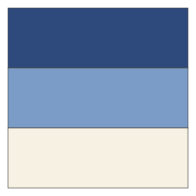
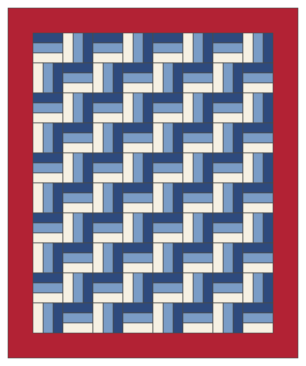
Every block is sewn the same way: dark strip, medium strip, light strip. Lay the first block with the strips running across, dark on top. Turn the next block a quarter turn clockwise so the strips run up and down and the dark strip lands on the right. Keep alternating across the row, and start the next row with a turned block. The dark strips then meet end to end and climb the quilt in stairs.
The effect depends on contrast. If the dark and light are close in value, the zigzag fades into a basket-weave texture. That's pretty too, just not a zigzag. Lay three fabrics side by side and take a black-and-white photo with your phone: you should see three clearly different grays.
Fabric
| Fabric | Used for | Yardage |
|---|---|---|
| Dark | Fourteen 2½-in strips | 1⅛ yd |
| Medium | Fourteen 2½-in strips | 1⅛ yd |
| Light | Fourteen 2½-in strips | 1⅛ yd |
| Border | Seven 5½-in strips | 1⅛ yd |
| Binding | Seven 2½-in strips | ⅝ yd |
| Backing | Two 66-in lengths, seamed | 3¾ yd |
| Batting | Middle layer, at least 66 × 78 in | Twin size (72 × 90 in) |
All strips are cut across the width of the fabric. Yardage assumes 40 usable inches after the selvages are trimmed, plus a couple of inches for straightening the first cut.
Using a jelly roll instead
A standard jelly roll has 40 strips, 2½ inches wide. Sort them into 13 sets of three (one dark, one medium, one light in each, as far as the roll allows). That makes 78 blocks, two short of 80. Cut two more 2½-inch strips from the border fabric and sew them with the one strip left over from the roll for a 14th set. If you do this, buy 1⅜ yd of border fabric instead of 1⅛. A scrappy jelly roll won't give a crisp zigzag; it gives a cheerful patchwork of stripes, which suits a quick charity quilt. Our precut fabric guide explains what is in a roll, and the jelly roll race quilt is the other fast way to use one.
Cutting
- From each of the dark, medium and light fabrics, cut 14 strips 2½ inches × the width of the fabric.
- From the border fabric, cut 7 strips 5½ inches × the width of the fabric.
- From the binding fabric, cut 7 strips 2½ inches × the width of the fabric.
Sew the strip sets

- Sew a dark strip to a medium strip along the long edge with a scant ¼-inch seam. A quarter-inch foot with an edge guide makes 84 long seams much easier to keep straight; see how to sew an accurate quarter-inch seam for a quick test.
- Add the light strip to the other side of the medium strip. Always sew the same order: dark, medium, light.
- Press the seams toward the dark strip. Press, don't iron: lift the iron and set it down, because pushing it along a long strip set bows it into a curve.
- Measure the strip set. It should be 6½ inches wide. If it is narrower, your seam is too wide and the blocks will come out small; fix the seam now, before you sew 13 more sets.
- Make 14 strip sets.
- Trim one end square. Cut each strip set into six 6½-inch squares. You need 80 blocks and get 84, so four spares let you skip any with a wobbly seam.
Lay out and sew the top
- Lay out 10 rows of 8 blocks. In row 1, put block 1 with the strips running across, dark on top. Turn block 2 a quarter turn clockwise (dark strip on the right). Alternate across the row.
- Start row 2 with a turned block, row 3 with an unturned block, and so on. Check the diagram before sewing; one block turned the wrong way breaks the zigzag and is easy to miss until the top is finished.
- Sew the blocks into rows. The seam allowances inside the blocks run in different directions on turned and unturned blocks, so you'll be sewing across some seams and along the end of others. Pin at each block corner.
- Press the seams in odd rows to the left and in even rows to the right, so they nest when you join the rows.
- Sew the rows together. The center should measure 48½ × 60½ inches.
Border
Join the seven 5½-inch border strips end to end into one long strip. Measure the quilt through the middle from top to bottom (it should be 60½ inches), cut two side borders that length, and sew them on. Then measure across the middle including the side borders (58½ inches), cut the top and bottom borders, and sew them on. Measuring the middle, not the edges, keeps stretched edges from rippling. How to add borders to a quilt walks through it in more detail.
Finish
Cut the backing yardage into two 66-inch lengths, trim the selvages and sew them together along the long edge. That gives a backing about 79 × 66 inches; the quilt plus 4 inches on every side needs 66 × 78. Baste the three layers. Straight lines are the natural choice for a striped quilt: stitch in the ditch between the blocks, or run diagonal lines corner to corner through the blocks so they cross the strips. Straight-line machine quilting covers marking and spacing. Bind with the seven 2½-inch strips: the quilt's perimeter is 256 inches, and the strips give about 277 inches after joining, enough for the corners and the final join (how to bind a quilt).
Other sizes
Every size uses the same 6-inch block and a 5-inch border. Each strip set makes six blocks.
| Layout | Blocks | Strip sets | Strips of each color | Finished |
|---|---|---|---|---|
| 5 × 6 | 30 | 5 | 5 | 40 × 46 in (baby) |
| 8 × 10 (this pattern) | 80 | 14 | 14 | 58 × 70 in (throw) |
| 10 × 14 | 140 | 24 | 24 | 70 × 94 in (twin) |
| 13 × 15 | 195 | 33 | 33 | 88 × 100 in (queen) |
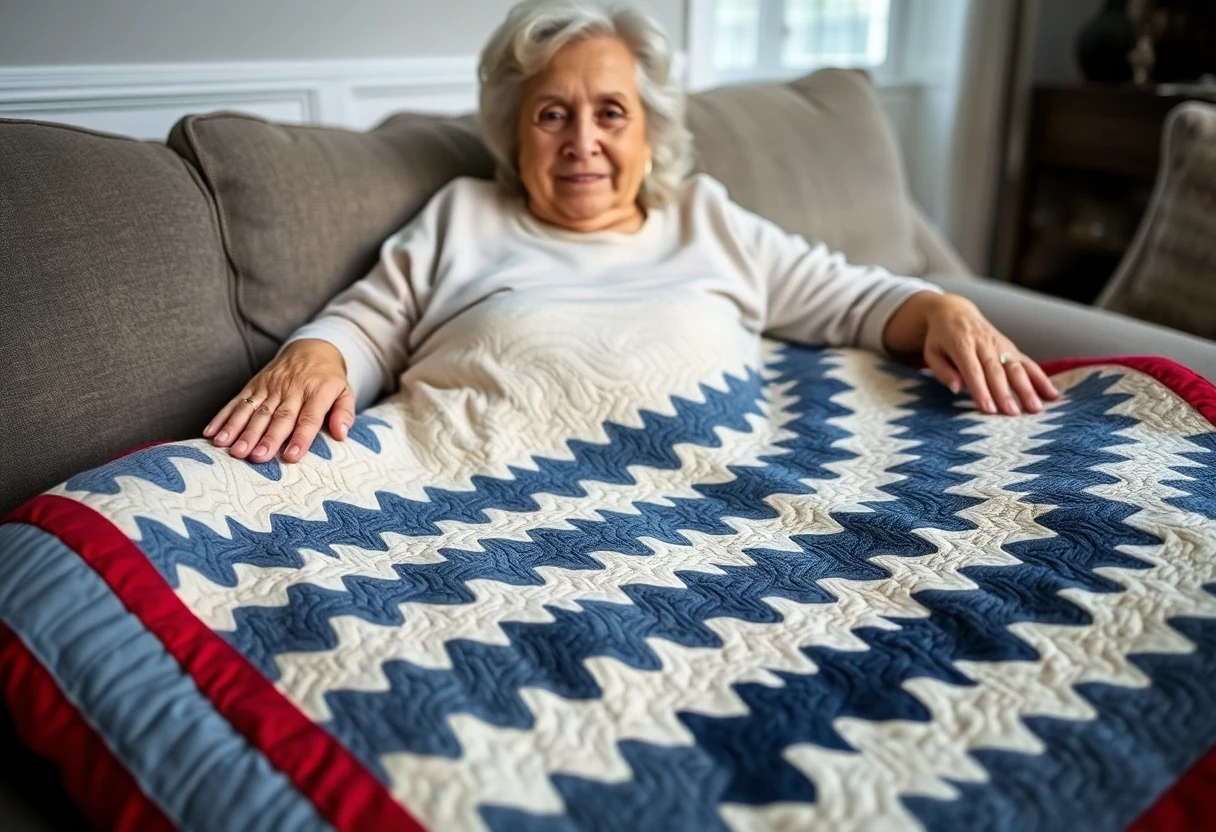
For finishing yardage at the larger sizes, use StitchTested's binding and backing calculator. For a quilt in red, white and blue, use a navy dark, a red medium and a cream light; the zigzag reads like a waving stripe and makes a good gift for a veteran or a Fourth of July picnic. The nine-patch throw is the other first quilt we'd suggest.
More free patterns: see them all. This pattern is free for personal and charity use; please don't sell the pattern itself.
Products on this page
Photos and prices come from Amazon and can change.
 Quarter-inch presser foot with edge guideCheck price on Amazon
You might also like
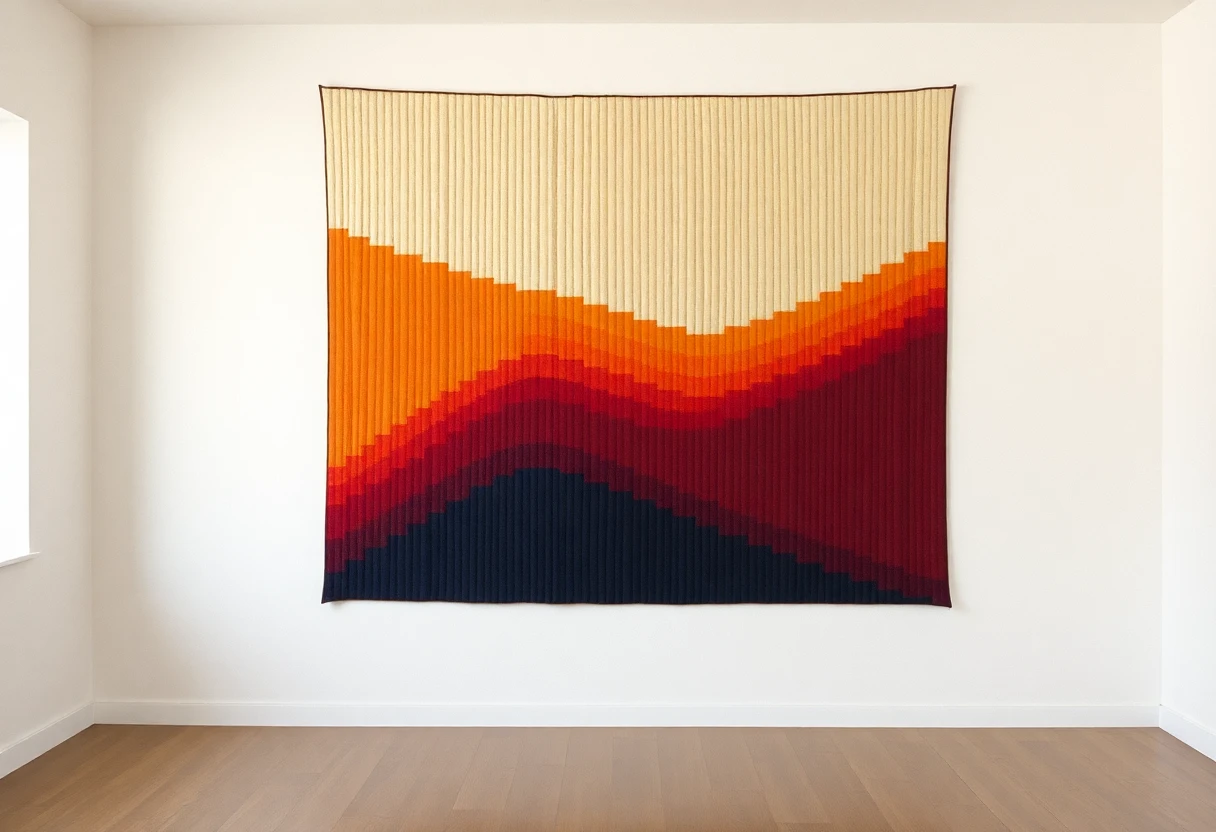 Bargello wave quiltShaded strips sewn into tubes and sliced into columns of different widths that rise and fall in waves; full column-by-column chart for a 60 x 70 in throw.
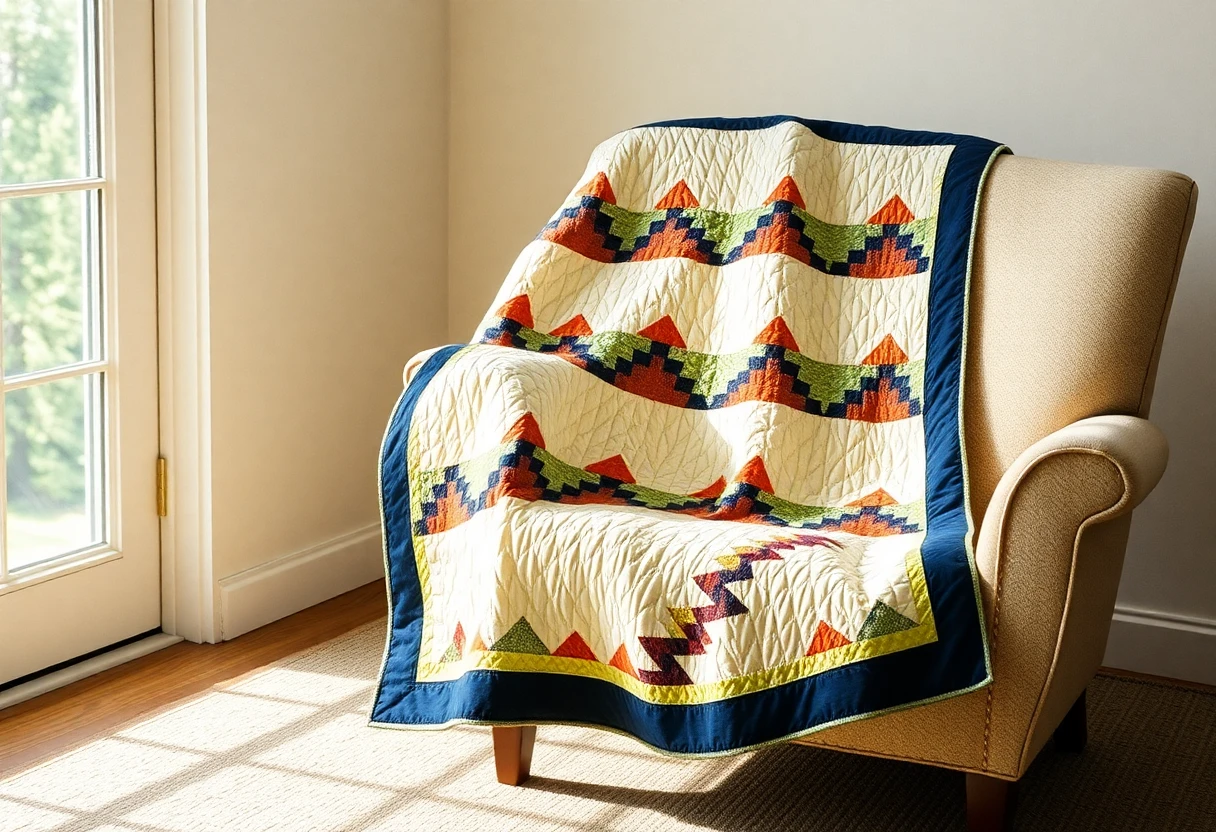 Charm pack zigzag quiltTwo charm packs, 168 half-square triangles, zigzags across a 56 x 64 in throw.
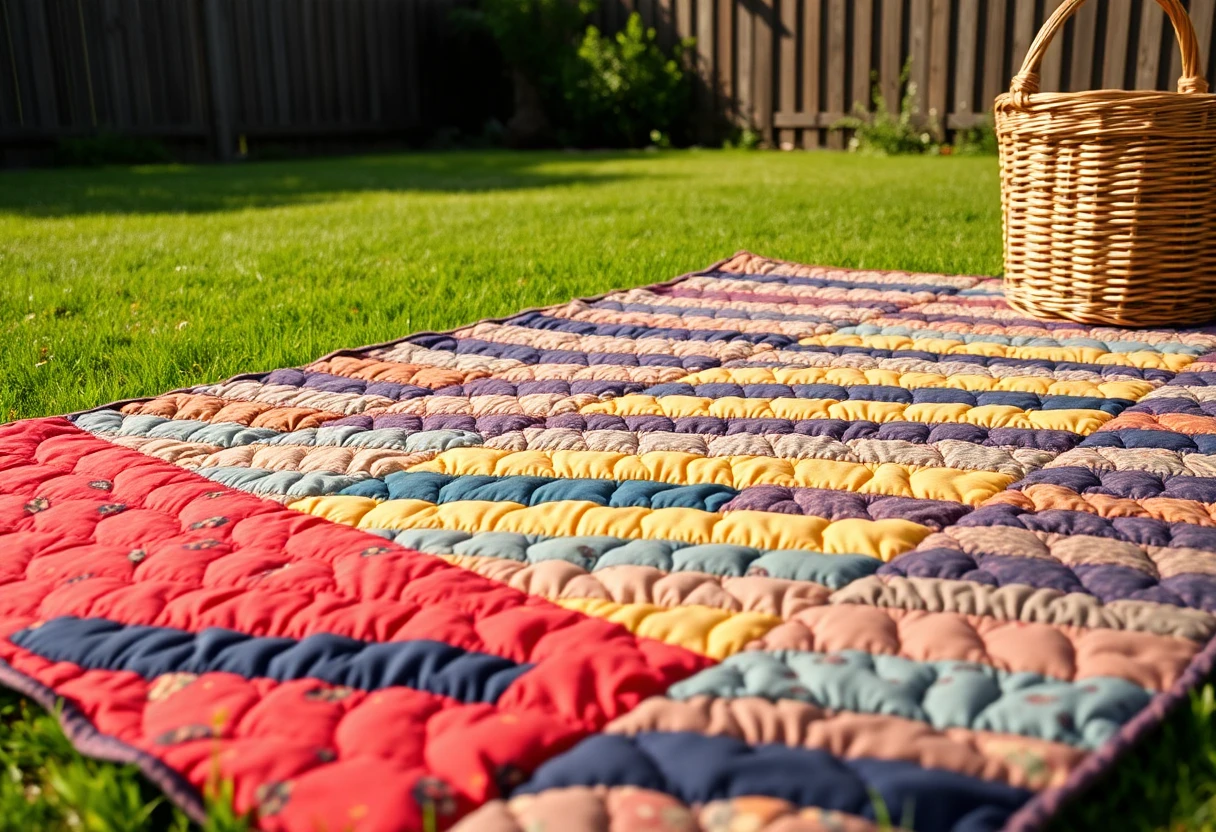 Jelly roll race quiltOne jelly roll, one long seam at a time; a top about 49 x 64 in, in a few hours.
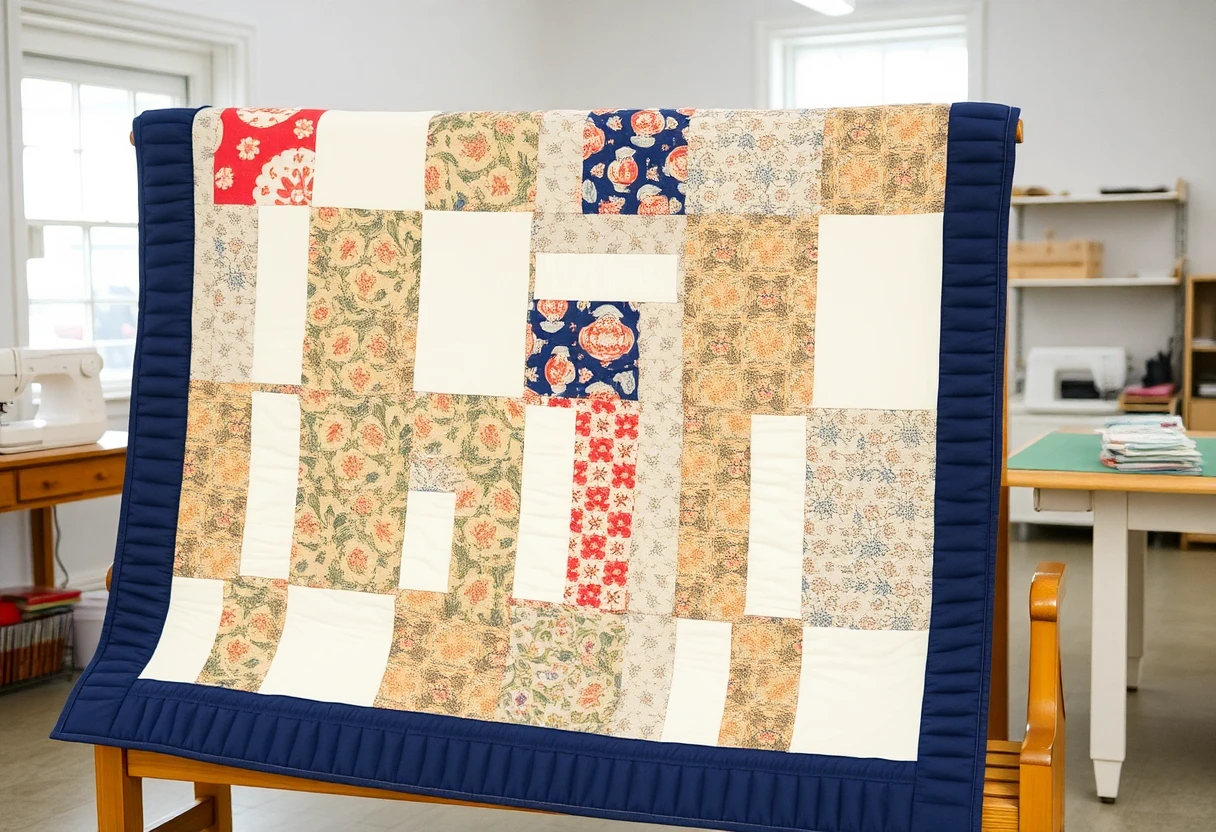 Disappearing nine-patch quiltA plain nine-patch cut in quarters and turned, which looks far harder than it is; 20 blocks from charm squares for a 62 x 75 in throw.