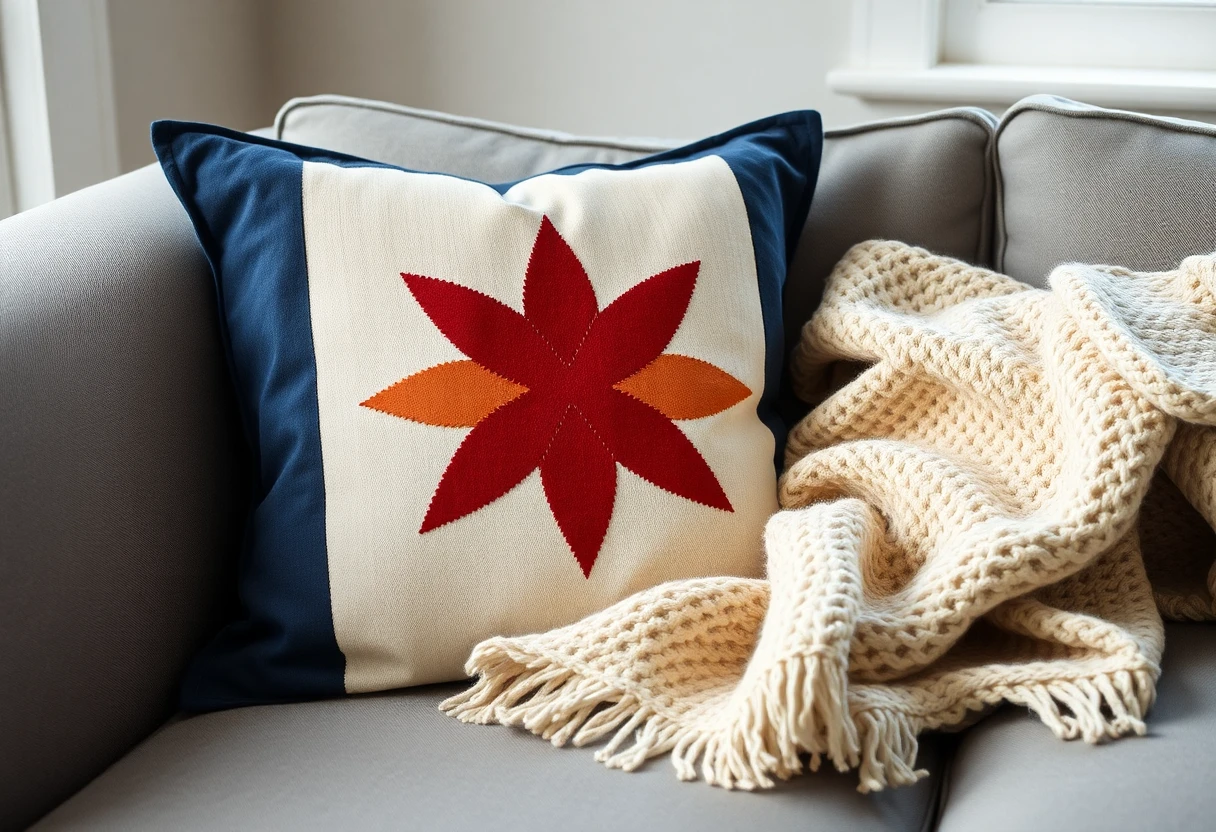

Materials
| Material | Used for | Amount |
|---|---|---|
| One 12-inch block | Pillow front (12½ in before sewing) | – |
| Border fabric | Two 3½-in strips | ¼ yd |
| Back fabric | Two 18½ × 12½-in pieces | ⅝ yd |
| Muslin or plain cotton | Lining behind the quilted front | ¾ yd (one 22-in square) |
| Batting | Middle layer of the front | One 22-in square |
| Pillow form | Filling | 18 in |
The lining never shows. It's there so the quilting stitches have something to hold on the inside, and so batting fibers don't migrate onto the pillow form. Thin cotton batting gives a flat, crisp front; a fluffier batting makes the quilting stand out more.
Good blocks for a pillow
Any square block works as long as you know its unfinished size. Bold, simple blocks with a clear center read best from across a room: an Ohio star, a churn dash, a friendship star or a shoofly. A log cabin block or the sawtooth star from the patriotic star quilt are both 12 inches already.
Measure the block before you start. If it's a little over 12½ inches, trim it evenly from all four sides. If it's under, cut the border strips a little wider and trim the finished front to 18½ inches.
Cutting
- Border: two 3½-inch strips. From the first, cut two pieces 18½ inches long. From the second, cut two pieces 12½ inches long.
- Back: one 18½-inch strip across the width of the fabric. Cut it into two pieces 12½ inches wide, so each piece is 18½ × 12½ inches.
- Lining and batting: one 22-inch square of each.
Make and quilt the front
- Sew the 12½-inch border pieces to two opposite sides of the block. Press toward the border.
- Sew the 18½-inch pieces to the other two sides. Press. The front measures 18½ inches square: 3½ + 12½ + 3½ = 19½, less two seams at ½ inch.
- Layer the lining, batting and front, right side up, and baste with a few safety pins.
- Quilt it. Stitching in the ditch around the block and following the main shapes of the block keeps it clean; straight lines 1 inch apart in the border frame it. A small piece like this is good practice for hand quilting if you've been meaning to try it.
- Trim the batting and lining even with the front, back to 18½ inches square.
Make the envelope back
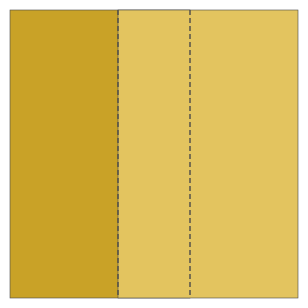
- On each back piece, hem one 18½-inch edge: fold ½ inch to the wrong side and press, fold another ½ inch and press, then topstitch close to the inner fold. Each piece is now 18½ × 11½ inches.
- Lay the quilted front right side up. Place one back piece on it, right side down, with its raw edges lined up with the left side of the front and the hem toward the middle.
- Place the second back piece right side down on the right side, hem toward the middle. The two hems overlap by about 4½ inches. Pin or clip all the way around, especially where the layers overlap.
- Sew all the way around with a ¼-inch seam. Sew a second line of stitching over the overlap area for strength; that's where the cover takes the strain when you put the form in.
- Zigzag or serge the raw edges so they don't fray in the wash. Clip the corners, turn the cover right side out and push out the corners.
- Fold the form in half, slide it in through the opening and let it open out inside.
The cover finishes at 18 inches, the same as the form, which gives a firm, full pillow. If you like a softer, looser look, use a ½-inch seam instead and the cover comes out half an inch smaller.
Bound-edge option
For a pillow with a quilt-like finished edge, put the back pieces on with their wrong sides against the lining instead, baste them ⅛ inch from the edge and bind the edge like a small quilt. You need 84 inches of 2½-inch binding (the 74-inch perimeter plus 10), so three strips. Instructions: how to bind a quilt.
Other pillow sizes
The border fills the space between the block and the form. Border cut width = (form size − finished block size) ÷ 2 + ½ inch. Each back piece is the form size plus ½ inch tall, and half the form size plus 3½ inches wide, which always gives a 4½-inch overlap after hemming.
| Form | Front (unfinished) | Two back pieces | Block and border cut width |
|---|---|---|---|
| 16 in | 16½ in | 16½ × 11½ in | 8-in block: 4½ in; 10-in block: 3½ in; 12-in block: 2½ in |
| 18 in | 18½ in | 18½ × 12½ in | 9-in block: 5 in; 10-in block: 4½ in; 12-in block: 3½ in; 14-in block: 2½ in |
| 20 in | 20½ in | 20½ × 13½ in | 10-in block: 5½ in; 12-in block: 4½ in; 14-in block: 3½ in |
| 24 in | 24½ in | 24½ × 15½ in | 12-in block: 6½ in; 14-in block: 5½ in |
Cut the two shorter border pieces the length of the block (unfinished) and the two longer pieces the length of the front. For the 24-inch back, the 24½-inch strip only fits two pieces 15½ inches wide if your fabric has at least 31 usable inches across, which almost all quilting cotton does.
A keepsake pillow
Pillows are a good way to give pieces of a memory quilt to several family members: one block from a loved one's shirt for each sibling, for example. A 14-inch shirt block fits an 18-inch form with a 2½-inch cut border. Stabilize knit fabric with fusible interfacing first, as the memory quilt page explains. Sew a label inside the envelope with the name and date.
More free patterns: see them all. This pattern is free for personal and charity use; please don't sell the pattern itself.
You might also like
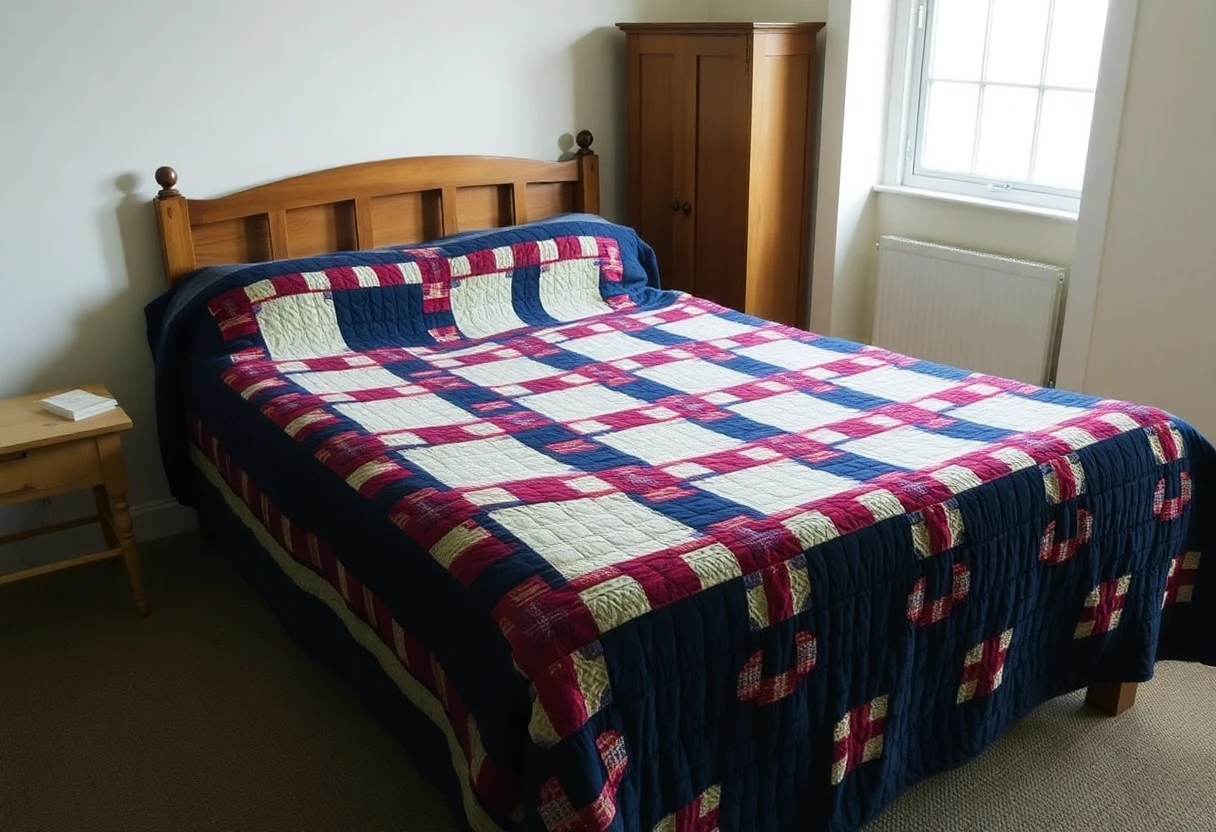 Double Irish chain quiltNavy and red chains on cream, 58 x 78 in, strip pieced so there are no tiny squares to cut one by one.
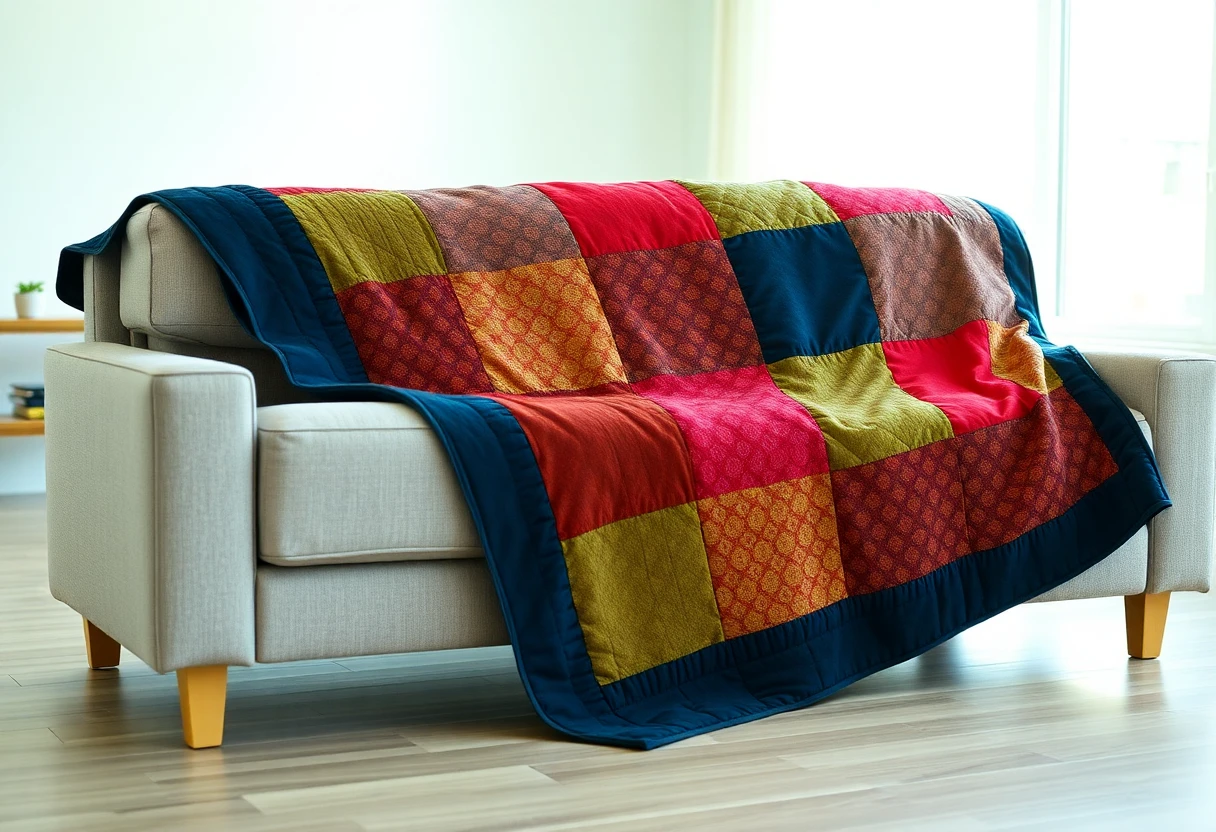 One-layer-cake throwAll 42 squares of one layer cake plus a border, a 64 x 73 in throw in an afternoon of sewing.
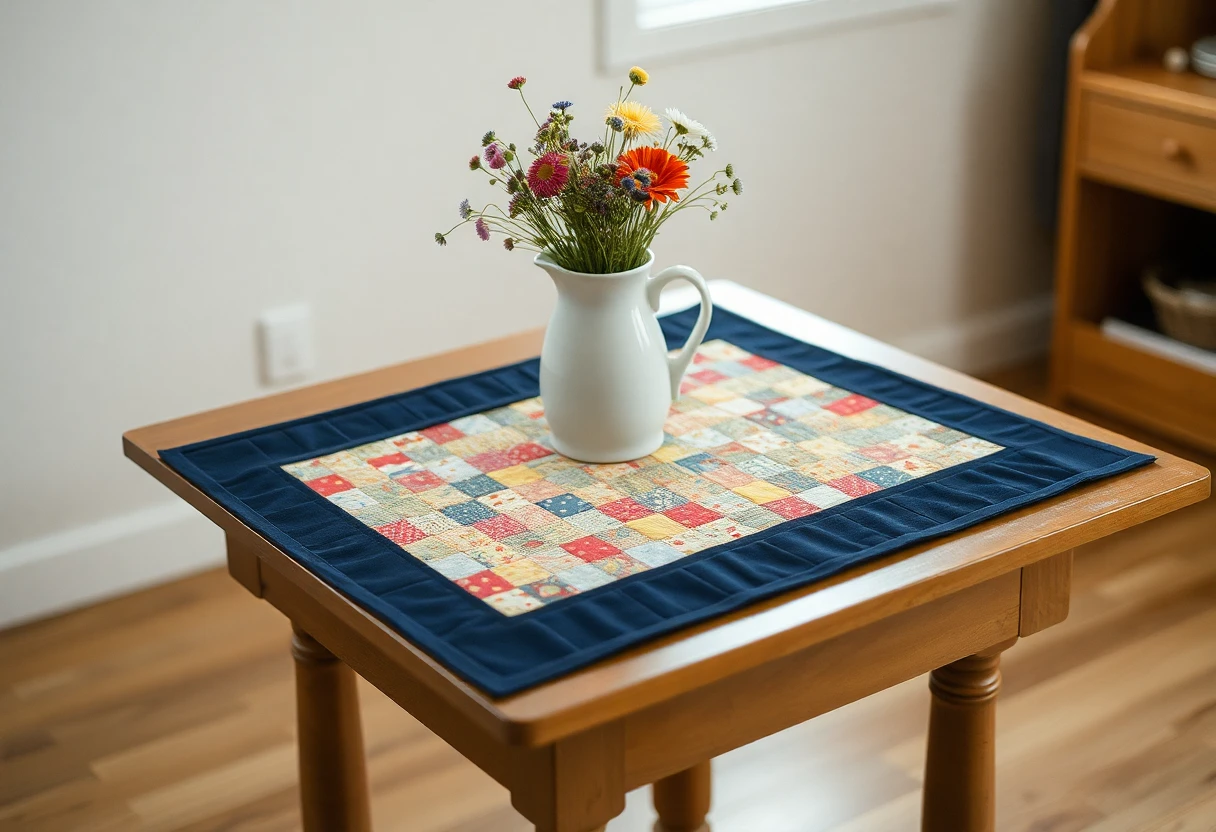 Easy quilted table runner in any lengthRows of 4-inch squares with a navy border, sized for any table from 48 to 96 inches long.
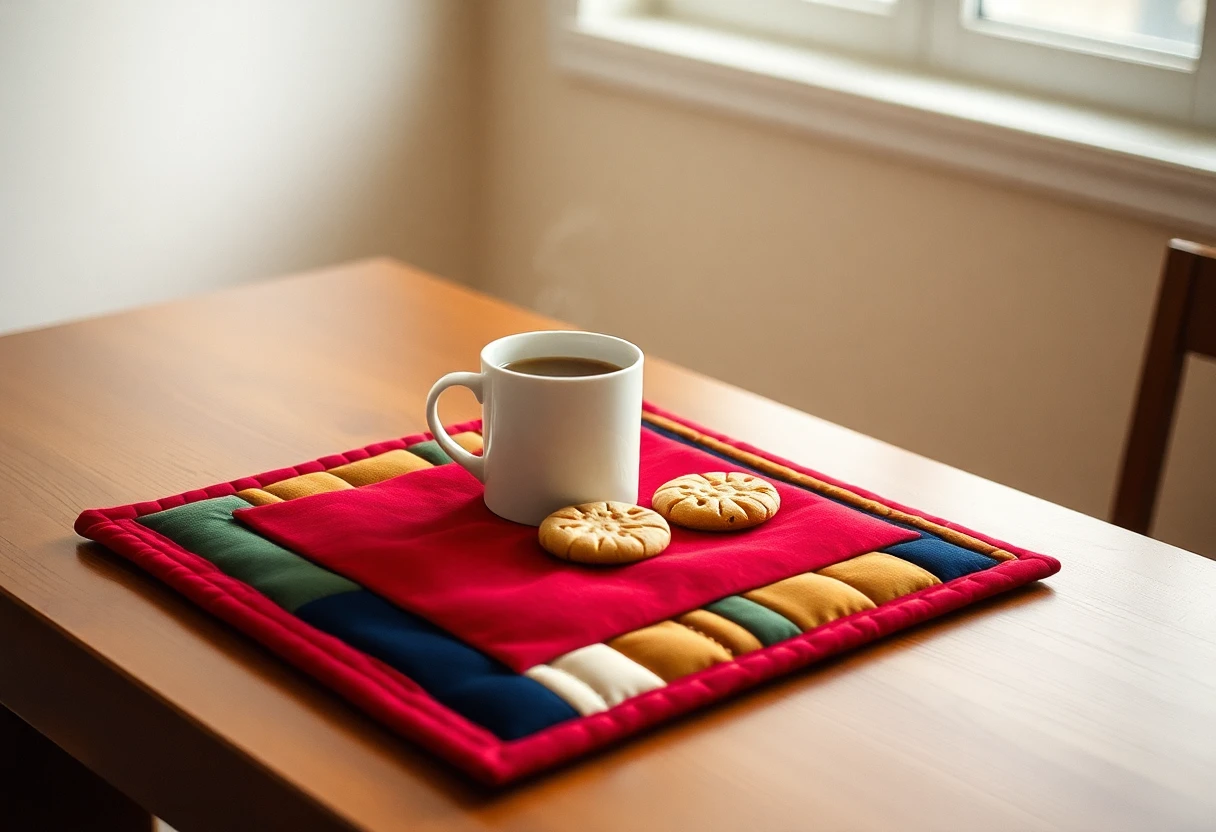 Mug rug from scrapsA 6 x 10 in quilted mat with a square for the mug and four scrap strips, in three sizes.