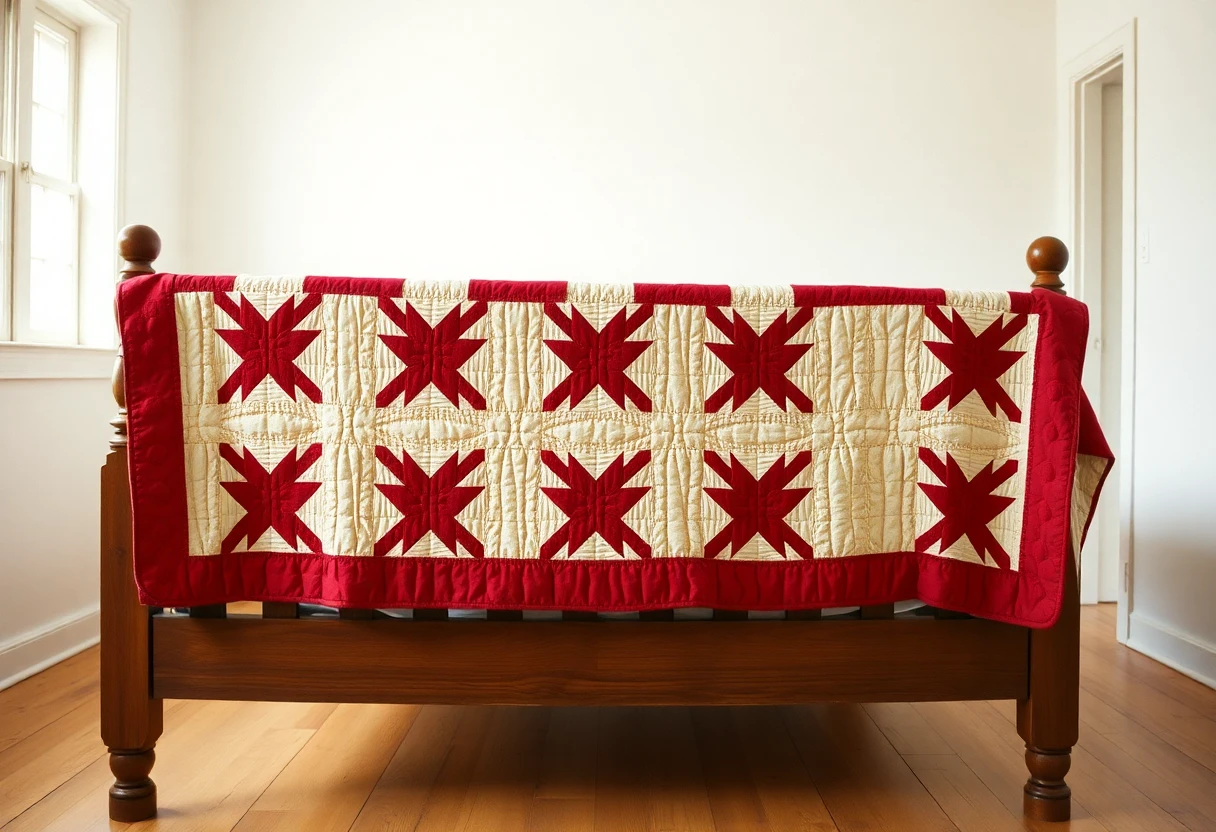
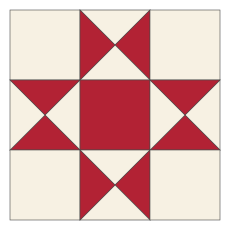
The block has been around a long time. The International Quilt Museum holds an Ohio Star quilt by M. Jane Brown, dated 1850 to 1860 and probably made in Franklin County, Pennsylvania. The name was never fixed: a sample block made by the quilt collector Carrie A. Hall in the early 1900s, now at the Spencer Museum of Art, is catalogued as the "Ohio Star, Variable Star, Lone Star, Texas Star, or Mystery Flower Garden" block.
How the block is built
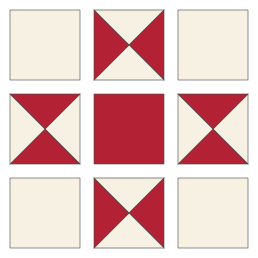
The grid is 3 × 3, so each unit finishes at one third of the block. A 9-inch block has 3-inch units. Each star-point unit is a quarter-square triangle (QST): four triangles meeting in the center, with background at the top and bottom and star fabric at the sides. Turned around the center square, the eight star-fabric triangles become the star's eight points.
Cutting chart (one block)
| Finished block | Unit size | Background: corners | Background: for star points | Star: center | Star: for star points |
|---|---|---|---|---|---|
| 6 in | 2 in | 4 squares 2½ in | 2 squares 3½ in | 1 square 2½ in | 2 squares 3½ in |
| 9 in | 3 in | 4 squares 3½ in | 2 squares 4½ in | 1 square 3½ in | 2 squares 4½ in |
| 12 in | 4 in | 4 squares 4½ in | 2 squares 5½ in | 1 square 4½ in | 2 squares 5½ in |
The star-point squares are cut at the unit size plus 1½ inches, which leaves a little to trim. The exact size is unit plus 1¼ inches (3¼, 4¼ and 5¼ inches); use it only if your seams are dead on. The block measures 6½, 9½ or 12½ inches unfinished. Every size here was checked by calculation.
Step 1: make four quarter-square triangles
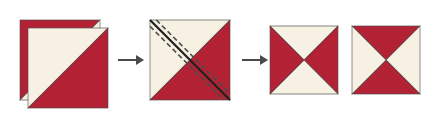
- Pair each background star-point square with a star-fabric square, right sides together. Draw a diagonal on the background square and sew ¼ inch on both sides. Cut on the line. You have four HSTs. Don't trim them.
- Press the seams toward the star fabric.
- Put two HSTs right sides together with opposite colors facing: star fabric against background. The seams will nest because they're pressed in opposite directions. Pin at the seam.
- Draw a diagonal line across the top HST, perpendicular to its seam, so it runs through the seam at the center.
- Sew ¼ inch on both sides of the line and cut on it. Each pair gives two QSTs; your four HSTs give the four you need.
- Press the new seam open, or to one side. Open is flatter where the four points meet.
- Trim to the unfinished unit size (2½, 3½ or 4½ inches). Put the ruler's 45-degree line on one diagonal seam and center the ruler so both seams cross at the middle of the trimmed square, and the seams run exactly into the corners.
To find the center, halve the unfinished size: for a 3½-inch unit, put the ruler's 1¾-inch lines (both directions) on the point where the seams cross, then trim the two exposed sides. Turn the unit and repeat.
Step 2: lay out and sew the block
- Lay out the nine units. Top row: corner, QST, corner. Middle row: QST, center, QST. Bottom row: corner, QST, corner.
- Turn each QST so the background triangles face the block edge and the center square, and the star-fabric triangles point sideways. Check the layout against the diagram before sewing; a turned QST is the most common Ohio star mistake.
- Sew each row. Press the top and bottom rows toward the corner squares and the middle row toward the center square.
- Join the rows, nesting the seams. Press the long seams toward the middle row, or open.
- Measure: 6½, 9½ or 12½ inches.
Variations
A three-fabric Ohio star uses a third fabric for the center square and the inner triangle of each point unit (the one touching the center). For the point units, cut one background square, two star squares and one center-fabric square (same size as in the chart). Pair background with star and center with star to make two HSTs of each kind, then pair one of each kind, with the star halves not facing each other, for the second seam. Each pair gives two identical units: background, star, center, star around the middle.
Swap the corner squares for a print and the block reads as a star inside a frame. Use a large-scale print or a photo transfer in the center square and the star frames it, which suits a keepsake or memory quilt where a small piece of a loved one's shirt goes in the middle.
Common mistakes and fixes
- Star points cut off at the block edge. The QST was trimmed off center, or the seam allowance was wider than ¼ inch. Trim with both seams crossing at the exact center.
- QSTs too small after trimming. The exact-size squares were used with a scant or wide seam. Cut the larger squares.
- A missing pair of star points. All four QSTs are identical, so a unit turned a quarter turn puts background where the points should be. Lay out the whole block before sewing.
- Bulk at the center of each QST. Press the second seam open.
- Block not square. Usually one row is longer than the others. Measure each row before joining.
Quilts made from Ohio stars
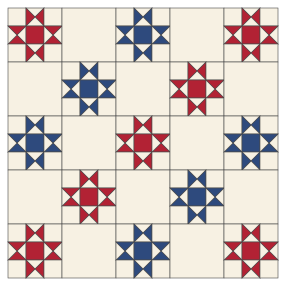
Alternating stars with plain blocks is the classic setting, and the plain blocks give you room for quilting. In red and navy on cream it makes a patriotic quilt; if you're making one for a veteran, read the Quilts of Valor requirements first so the size fits. Our patriotic star throw uses the sawtooth star instead, which has flying geese for points.
The QST in this block is the same unit as the hourglass block, which has its own chart for more sizes.
You might also like
 Hourglass quilt blockQuarter-square triangles two ways, with a cut chart from 2 to 6 inches finished.
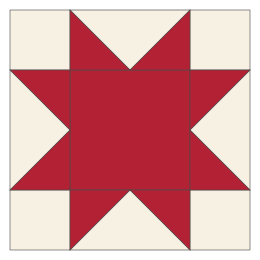 Sawtooth star quilt blockA big center square and four flying geese points, cut for 6, 8, 12 and 16 inch blocks.
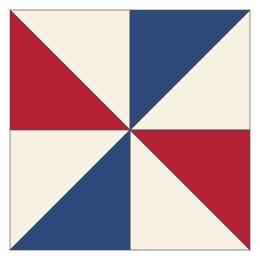 Pinwheel quilt blockFour half-square triangles turned around the center, cut for 4, 6, 8, 10 and 12 inch blocks.
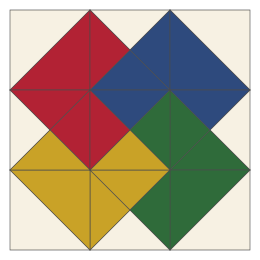 Card trick quilt blockFour "cards" that seem to overlap, from half and quarter triangles, cut for 6, 9 and 12 inch blocks.