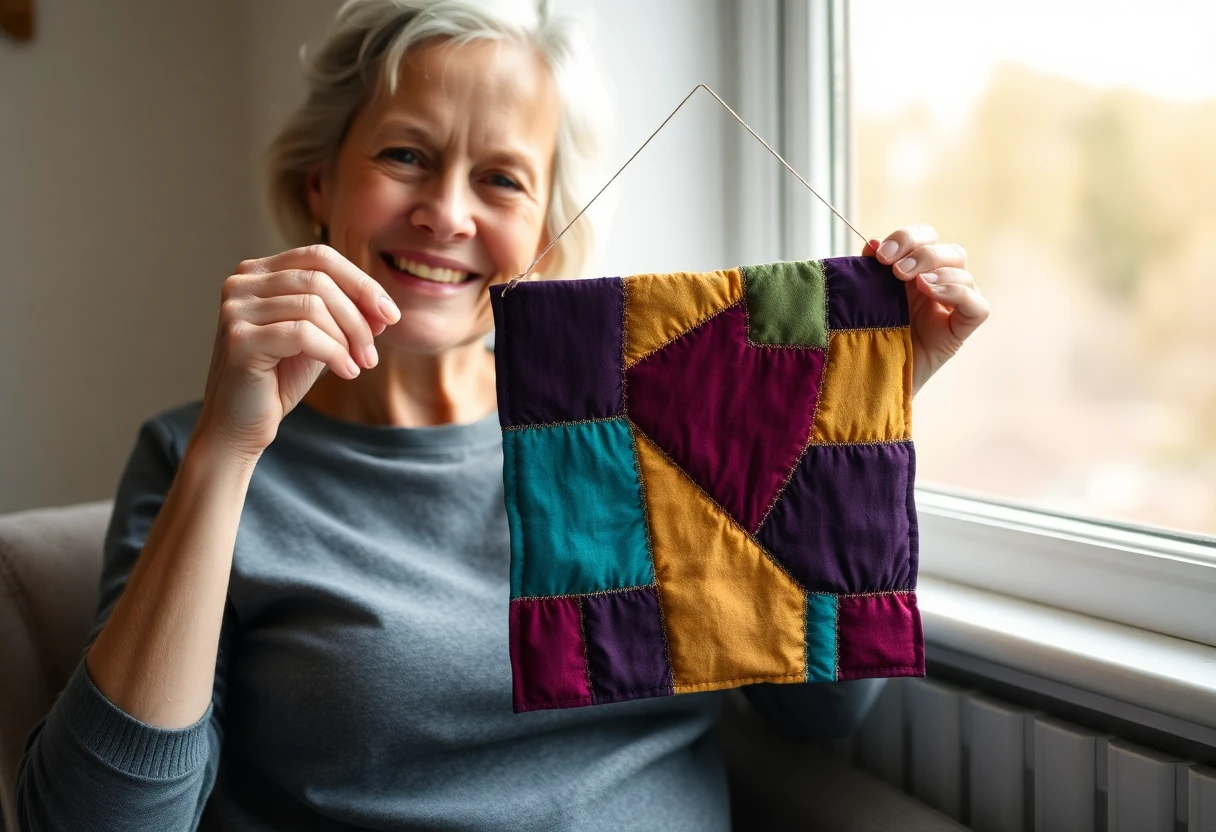
This page covers the embroidery only. For piecing the block itself, start with how to make a crazy quilt. The stitch steps here follow published tutorials from needlework teachers; we have not stitched every sample ourselves, and the diagrams are schematic.
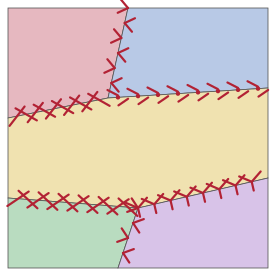
Which stitch for which seam
| Stitch | Best on | What it looks like | Good topper |
|---|---|---|---|
| Herringbone | Straight seams and gentle curves | A zigzag of crossed straight stitches | Detached chain or beads in the gaps |
| Cretan | Straight seams | A braid down the middle with arms to both sides | A bead at each arm tip |
| Feather | Curves | Looped V shapes to alternate sides, like a fern | Stitches added at the arm ends |
| Fly | Curves, or as a scattered accent | A V held by a short anchor stitch | Worked alone in a row or stacked |
The pairing advice comes from the crazy quilting teacher Pintangle: angular stitches such as herringbone look good with curved ones such as detached chain worked over them. She also says you do not need hundreds of stitches. Eight or so, layered in different combinations, carry a whole quilt.
Herringbone stitch
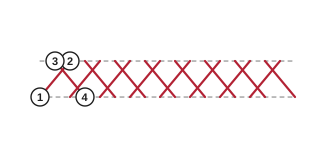
- Mark two parallel lines on either side of the seam, or use the seam and a chalk line. Bring the needle up on the bottom line at the left (point 1).
- On the top line, a little to the right, take a small bite of fabric with the needle pointing back toward where you started (points 2 and 3). Pull through to make a slanted stitch.
- Go down to the bottom line, a little to the right of the first stitch, and take another small bite with the thread crossing over the first stitch (point 4).
- Keep alternating top and bottom. Each stitch should rest on the fabric instead of being pulled tight; puckering usually means too much tension.
It crosses neatly over a seam, handles gentle curves if you plan the spacing so the stitches stay even, and leaves room to add straight stitches, beads or detached chain between the crosses.
Cretan stitch
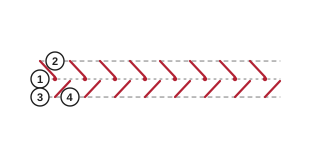
- Draw three parallel guide lines about ¼ inch apart, or use the seam as the middle line and mark faint chalk lines above and below it. Bring the needle up on the middle line.
- Insert it on the top line, slightly to the right, and bring it up halfway between the top and middle lines, with the working thread tucked under the needle tip before you pull through.
- Turn the needle to point up. Insert it on the bottom line and come up halfway between the bottom and middle lines, thread under the needle again.
- Alternate top and bottom to build the braid. Pull gently so the stitches lie flat.
If it looks like barbed wire, you are probably coming up on the middle line every time. After the first stitch, come up in the space halfway between the lines instead. A seed bead on the tip of each arm adds sparkle.
Feather stitch
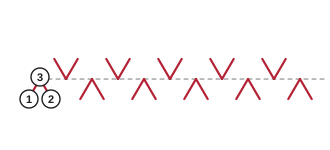
- Bring the needle up where the row starts (point 1). Insert it a short way to the right on the same level (point 2).
- Pull the thread through only partway, so a loop stays below the work.
- Bring the needle up inside that loop, centered below the two points (point 3), and pull slowly until the loop lies flat. That makes a V.
- Make the next V to the other side, then alternate left and right down the row.
Variations keep the same path. Wider and shallower spacing gives a flatter fern. Placing each new stitch directly below the previous one gives straight sides, and a second row worked over it fills the gaps (crossed or plaited feather). Feather stitch follows curves well and takes extra stitches at the arm ends or between arms.
Fly stitch
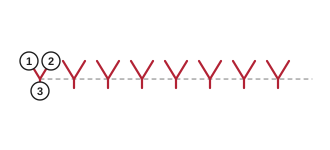
- Bring the needle up at the top left corner of an upside-down triangle (point 1) and insert it at the top right (point 2).
- Bring it out at the bottom point (point 3), passing over the working thread, and pull through.
- Make a small stitch at the bottom point to hold the V.
A shorter anchor makes a wide cup, and a longer anchor makes a Y. Fly stitches in a row give a scalloped seam. Stacked on lengthened anchors, they become stems and ferns, and a single stitch can read as a bird or insect on a patch.
Layering a seam
- Piece the block first and add any lace or braid while piecing.
- Stitch a foundation row (herringbone, Cretan or feather) along every seam.
- Add toppers: detached chain over herringbone, stitches at feather arm ends, beads in the gaps.
- Sew buttons, beads and charms last so they do not tangle the thread.
Pintangle suggests choosing for contrast in texture, weight and sheen, not just color: thin with thick, shiny with dull. She recommends firm-twist cotton perle in sizes 8 and 5 over stranded floss, and picking the needle last, with an eye that lets the thread pass without fraying. Our sashiko guide covers another stitched finish if you want a calmer look.
Plan the seams before you stitch
Every seam on a crazy block meets other seams, so the stitching has to carry on across the join. Work the longest seams first and let shorter ones end under them. On a memorial or keepsake block, leave one patch plain for a name or date; the signature quilt guide covers pens that stay put. Finished blocks go together, are quilted or tied, then bound.
You might also like
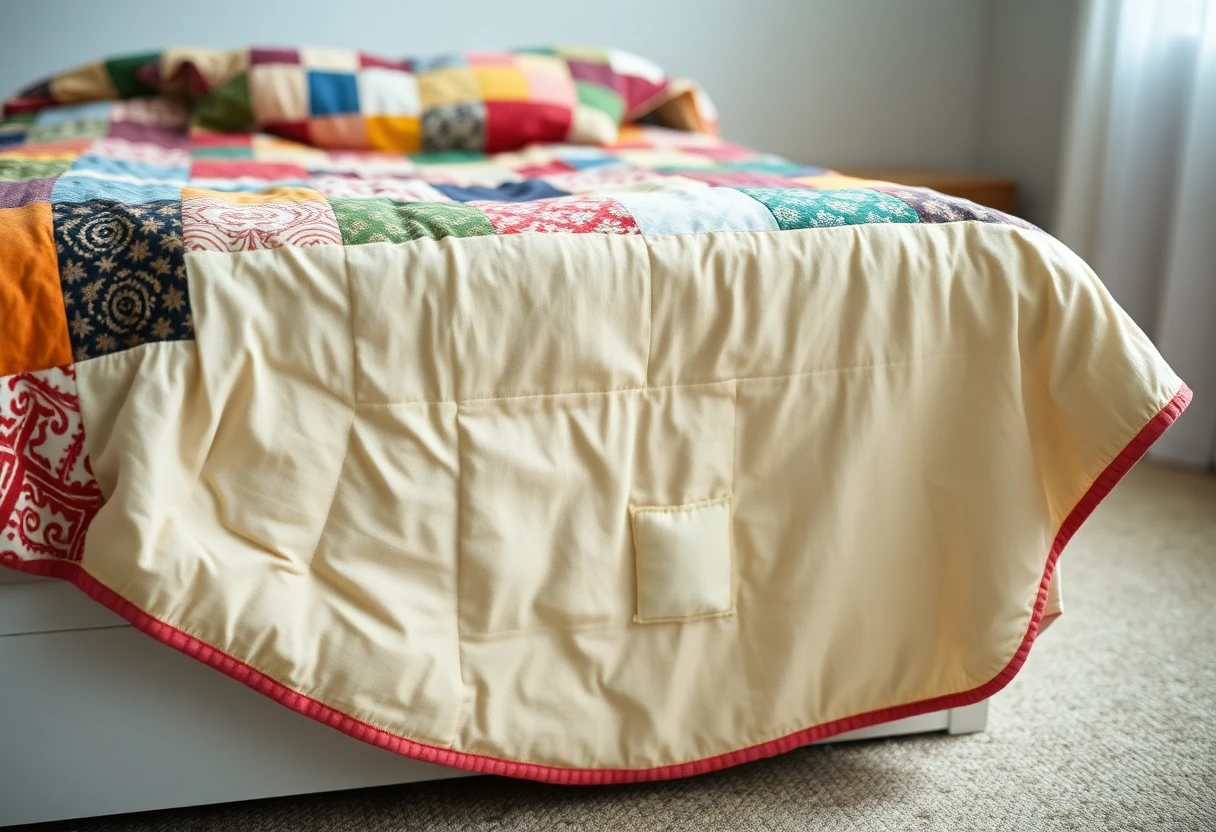 How to label a quiltWhat to write on a quilt label, four ways to make one and how to sew it on.
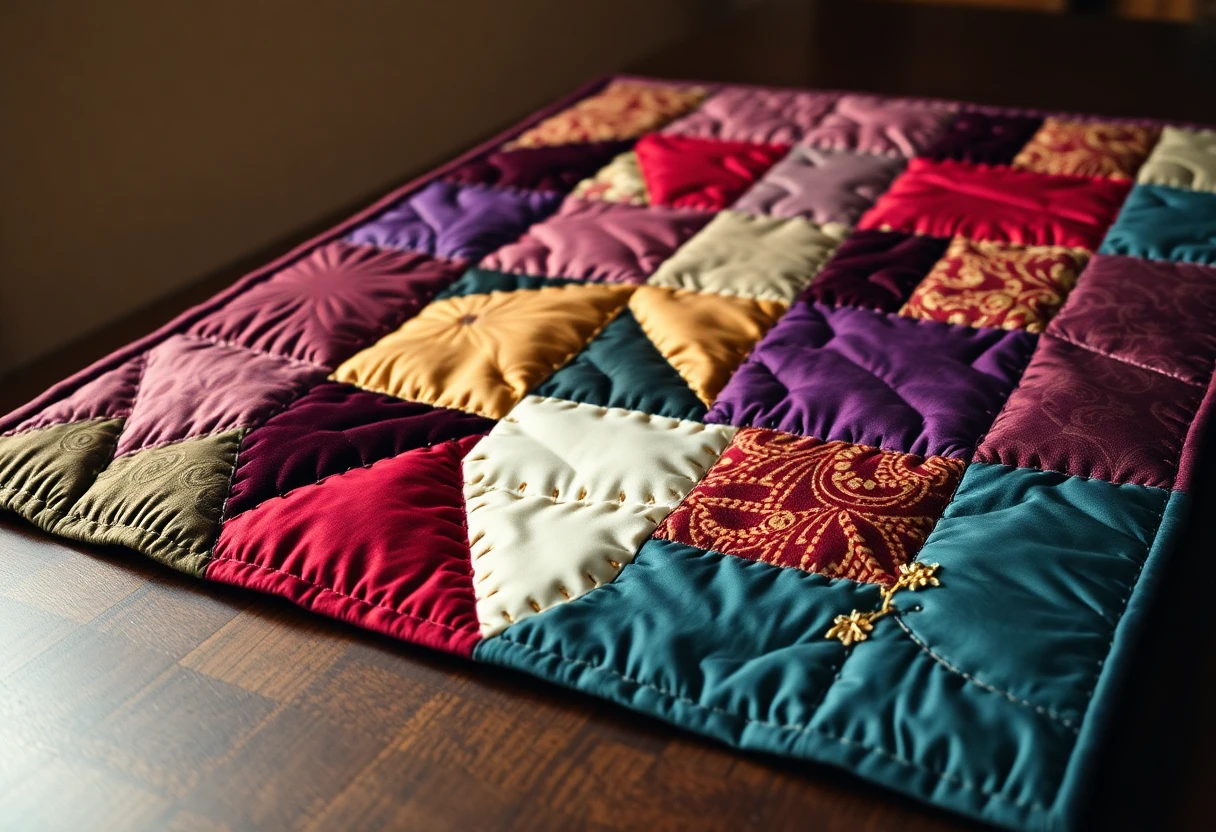 How to make a crazy quiltOdd-shaped scraps sewn to a foundation, then every seam covered with embroidery.
 Quilts of Valor: requirements and how to make oneThe Foundation's size, fabric and label rules in plain English, plus a pattern that fits them.
 Drunkard's path quilt blockOne quarter-circle unit, a curved seam sewn with pins, and eight layouts from the same pieces.