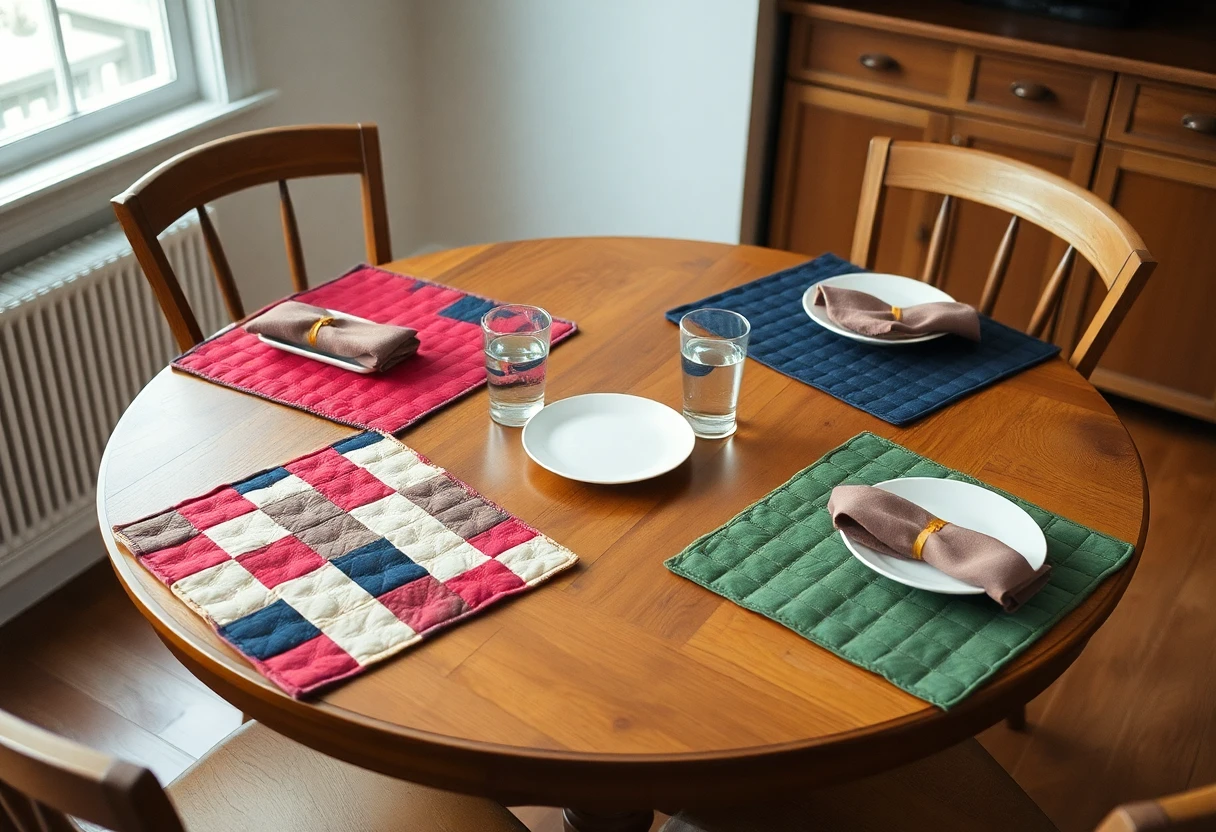

Fabric for four mats
| Fabric | Used for | Yardage |
|---|---|---|
| Main print | Wide panel and narrow end strip | ¾ yd |
| Accent | 1-inch accent strip | ¼ yd |
| Three coordinating prints | Twelve 4½-in squares (four of each) | ⅜ yd total, or scraps |
| Backing | Four 12½ × 18½-in pieces | ¾ yd |
| Thin cotton batting | Four 12½ × 18½-in pieces | A crib-size batt is plenty |
Use a thin, low-loft cotton batting. Placemats need to lie flat under a plate and a glass, and puffy polyester batting makes glasses wobble. Pick a main print that hides spills: a small busy print beats a pale solid. Prewash all the fabric if you plan to wash the mats often, so the colors settle before you sew.
Cutting
| Fabric | Strips | Then cut |
|---|---|---|
| Main print | Two 12½-in strips | From the first strip: three 11½ × 12½-in panels and two 2½ × 12½-in end strips. From the second: one panel and two end strips. |
| Accent | Two 1½-in strips | Four 1½ × 12½-in strips (three from the first strip) |
| Prints | – | Twelve 4½-in squares |
| Backing | Two 12½-in strips | Four 18½ × 12½-in pieces (two per strip) |
| Batting | – | Four 18½ × 12½-in pieces |
If your main print has a direction (birds or houses that point up), cut the 12½-inch strips so the motifs run the right way across the mat.
Piece the tops
- For each mat, sew three different squares into a column. Press the seams one way. The column measures 4½ × 12½ inches.
- Sew a 2½-inch end strip to the left side of the column.
- Sew a 1½-inch accent strip to the right side of the column, then the 11½-inch panel to the accent strip.
- Press all the long seams toward the main print. The top measures 18½ × 12½ inches. Make four.
Arithmetic check: 2½ + 4½ + 1½ + 11½ = 20 inches of fabric, less three seams at ½ inch each, is 18½ inches. Turn two of the four tops upside down before you sew the columns and you'll have mirror-image mats, so the squares can sit on the outside edge at both ends of the table.
The quick finish: turn instead of binding
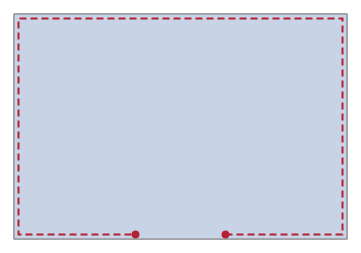
- Stack the layers in this order: batting on the bottom, the backing right side up on the batting, and the pieced top right side down on the backing. Pin or clip all the way around.
- Sew ¼ inch from the edge all the way around, starting and stopping to leave a 5-inch opening in the middle of one long side. Backstitch at both ends of the opening.
- Trim the batting close to the stitching to cut bulk, and clip across each corner about ⅛ inch from the stitching. Don't clip through the stitches.
- Turn the mat right side out through the opening, so the batting ends up in the middle. Push the corners out with a chopstick or a point turner, gently.
- Press the edges flat, rolling the seam to the edge with your fingers. Fold the raw edges of the opening in by ¼ inch, in line with the seam, and press.
- Topstitch ⅛ inch from the edge all the way around. This closes the opening and keeps the edge from rolling.
The finished mat measures 12 × 18 inches. Clips work better than pins on the stack because they don't distort the batting; sewing clips like these plastic sewing clips open wide and sit flat under the presser foot.
Quilt the mats
Quilt after turning, so the stitching holds all three layers together and keeps the batting from shifting in the wash. Simple options, all with a walking foot:
- Stitch in the ditch on both sides of the accent strip and between the squares.
- Straight lines across the wide panel, 1 inch apart. Mark the first line with a ruler and use the edge of the foot for the rest. See straight-line machine quilting.
- A second row of topstitching ½ inch inside the first, around the whole mat, for a framed look.
Keep the quilting fairly dense, with no gap wider than about 2 inches, so the mats stay flat through washing.
If you'd rather bind them
Binding gives a traditional look and a crisp edge. Cut the backing and batting larger, quilt first, then trim and bind:
| Piece | Each mat | Four mats |
|---|---|---|
| Backing | 16 × 22 in | Two 22-in strips, two pieces per strip: 1⅜ yd |
| Batting | 16 × 22 in | Four pieces |
| Binding (2½-in strips) | 70 in (perimeter 60 in, plus 10): two strips | Eight strips: ⅝ yd |
Binding four small items is easier with a continuous method: join all eight strips into one long piece and cut it as you finish each mat. The steps are in how to bind a quilt; machine binding holds up better than hand binding on something washed every week.
Other sizes and matching pieces
- Children's mats, 12 × 15 inches: cut the wide panel 8½ inches wide instead of 11½. The backing and batting become 15½ × 12½ inches.
- Larger mats, 14 × 18 inches: sew a 2½ × 18½-inch strip of the main print to the bottom of the 12½-inch-tall top, for a top 18½ × 14½ inches, and cut the backing and batting to match. For four mats that takes 1 yd of main print (two more 2½-in strips, two pieces per strip) and ⅞ yd of backing (two 14½-in strips).
- Napkins: cut 19-inch squares of a coordinating print and hem them with a double ¼-inch fold for 18-inch napkins.
To finish the table, make an easy quilted table runner from the same fabrics, and a set of mug rugs from the leftover squares.
Placemats make a good wedding or housewarming present. Sew a small label on the back of one mat with the date and the occasion.
More free patterns: see them all. This pattern is free for personal and charity use; please don't sell the pattern itself.
Products on this page
Photos and prices come from Amazon and can change.
 Multipurpose Sewing Clips Pack of 100Check price on Amazon
You might also like
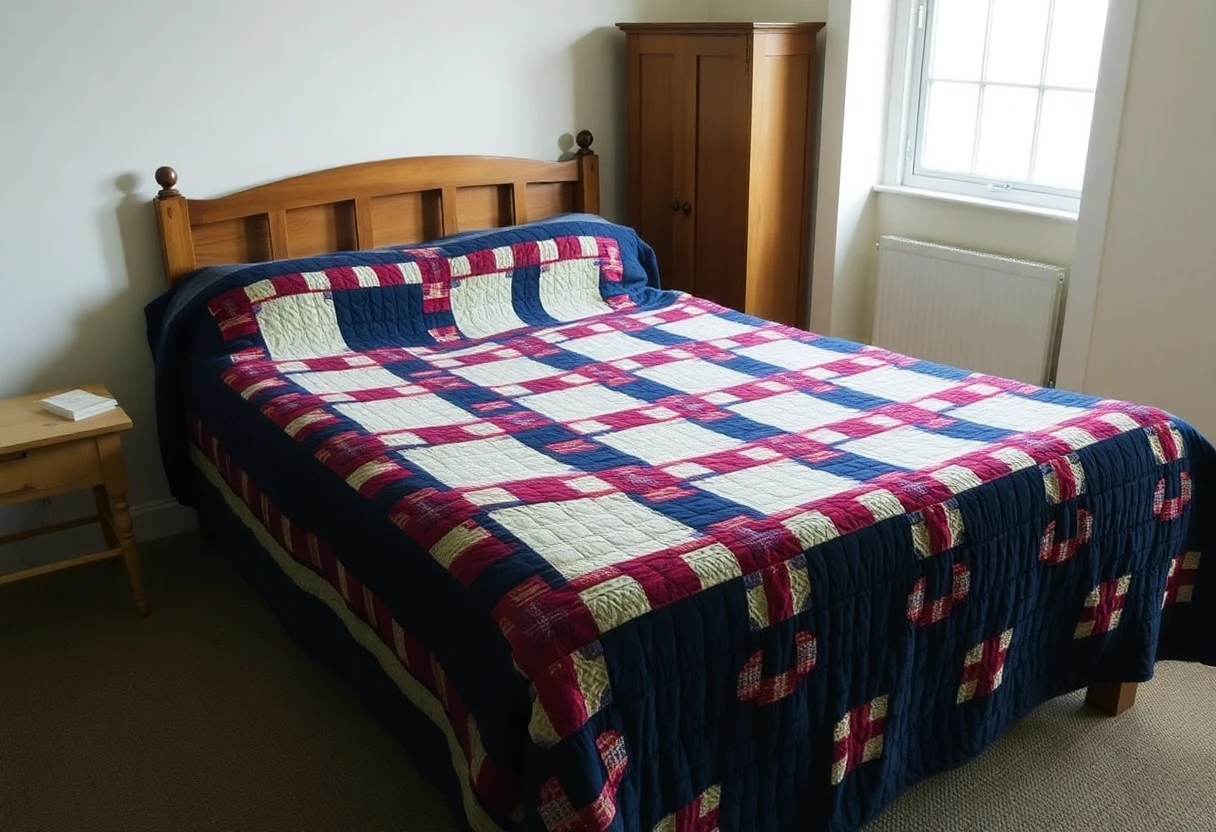 Double Irish chain quiltNavy and red chains on cream, 58 x 78 in, strip pieced so there are no tiny squares to cut one by one.
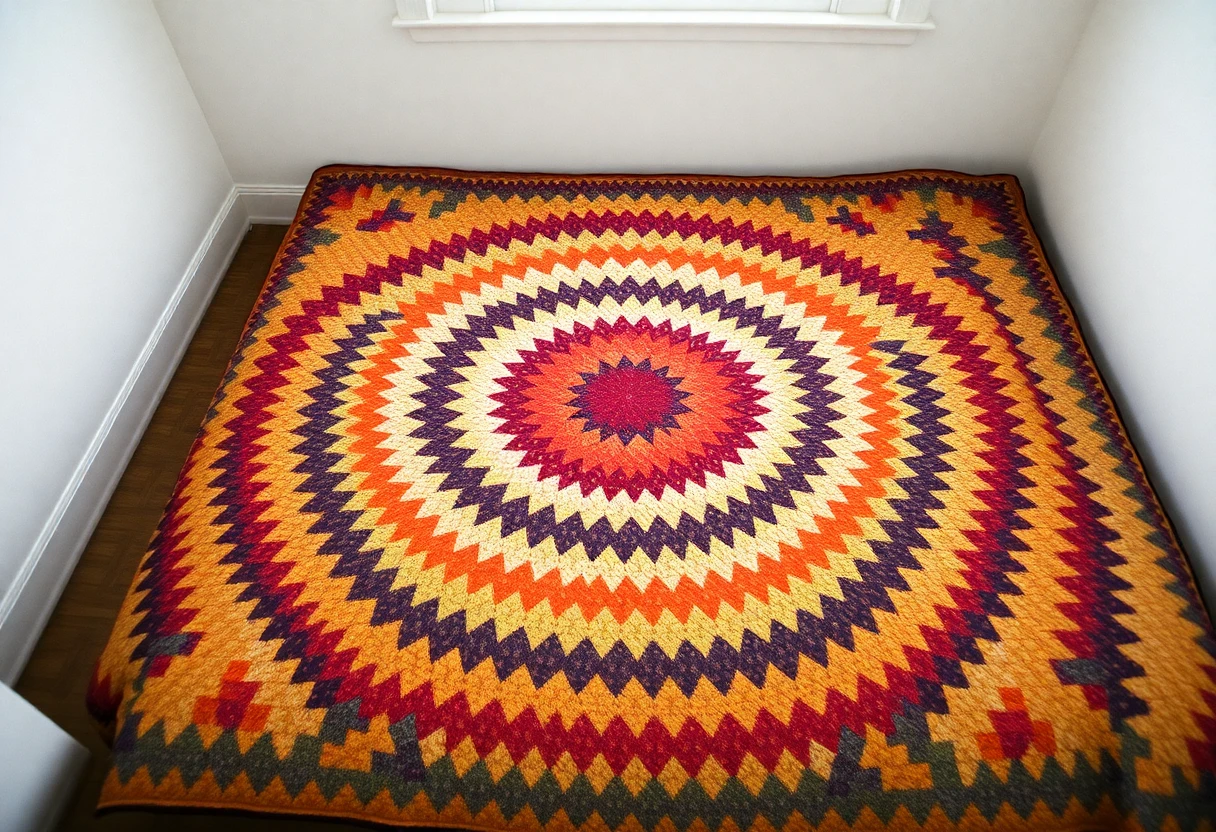 Trip around the world quiltRings of color spreading out from the center, sewn from strip-set tubes instead of a thousand single squares; 71 in square.
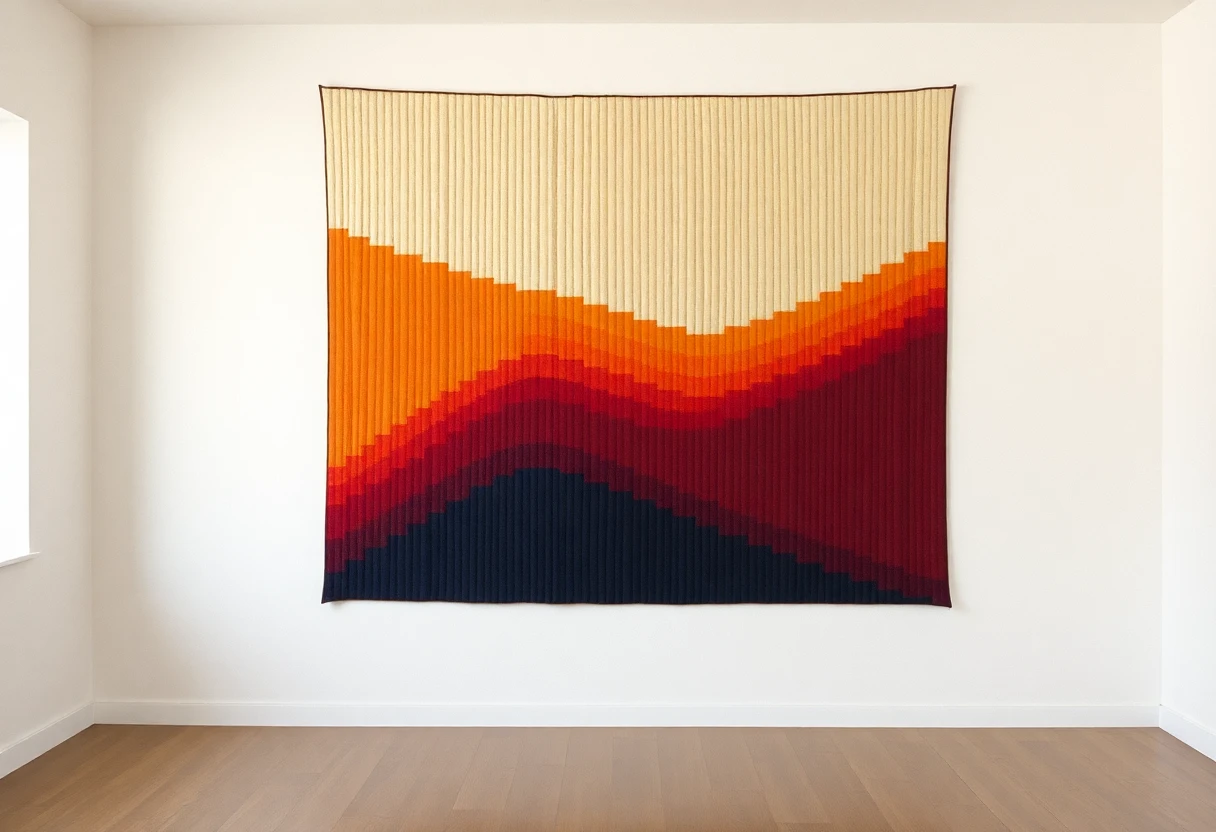 Bargello wave quiltShaded strips sewn into tubes and sliced into columns of different widths that rise and fall in waves; full column-by-column chart for a 60 x 70 in throw.
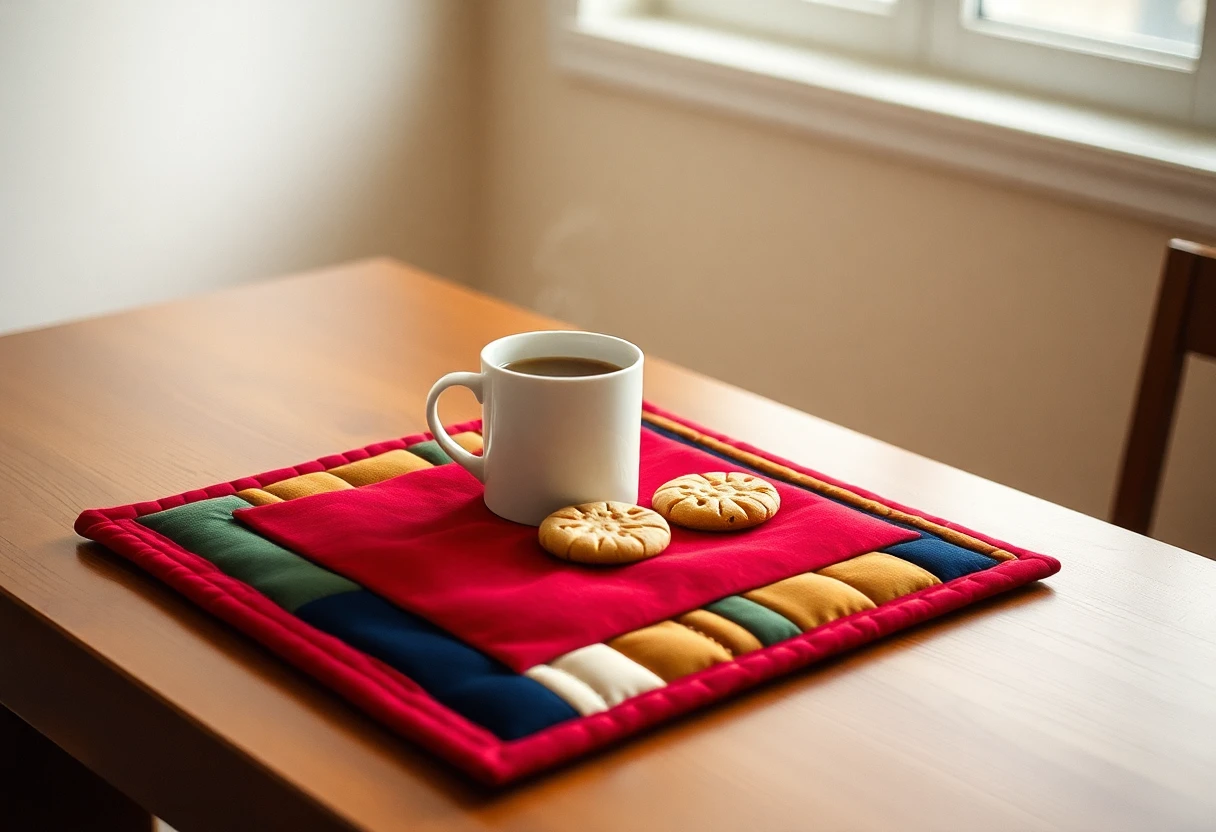 Mug rug from scrapsA 6 x 10 in quilted mat with a square for the mug and four scrap strips, in three sizes.