
A little history
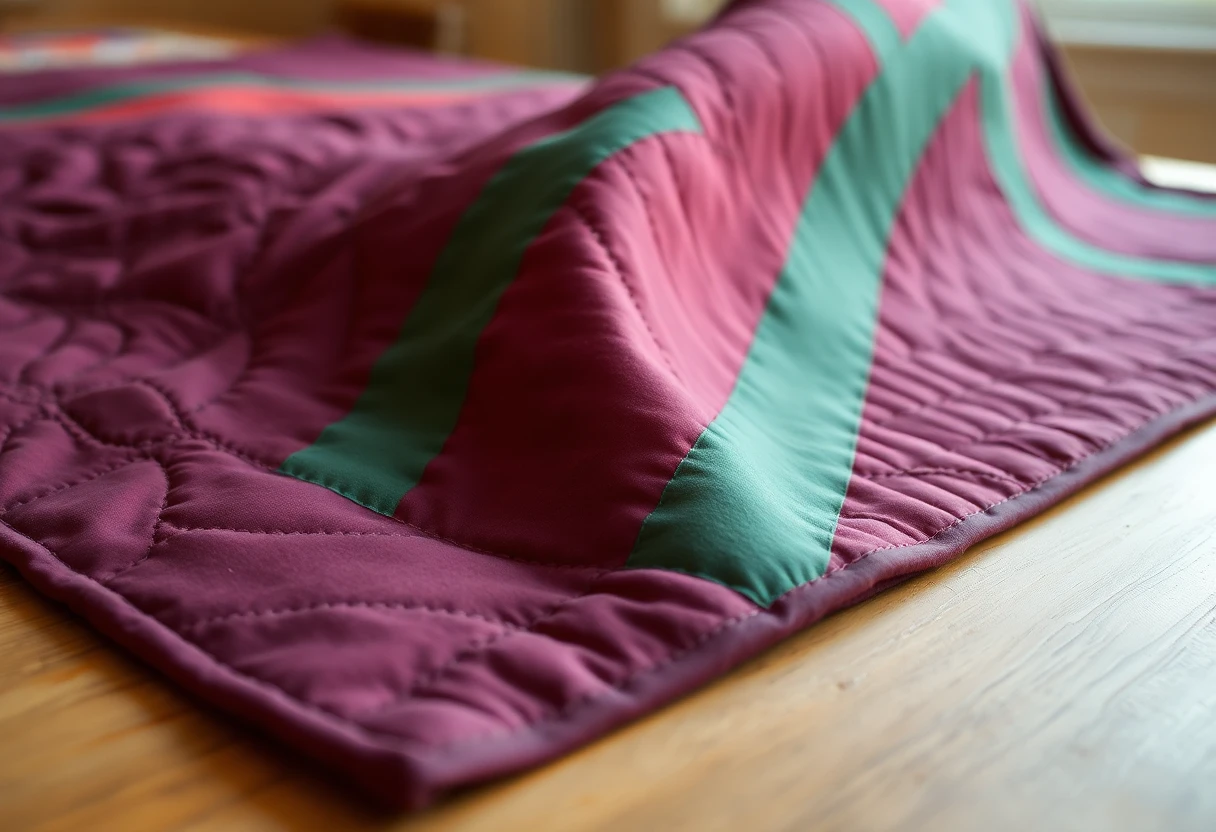
The Metropolitan Museum of Art calls the center diamond a favorite of the Amish of Lancaster County, Pennsylvania, and notes that it is not usually made in other communities. The Met's example, wool and cotton from about 1920 and roughly 79 inches square, is sewn from large pieces of fabric, and the museum describes its simple layout as a canvas for the elaborate quilting that is a hallmark of Lancaster County work: a stitched star at the center of the diamond inside two circles of feather wreaths, pumpkin-seed quilting in the narrow borders and a curving feather in the wide outer border.
The American Folk Art Museum holds several, including a Diamond in the Square quilt by Rebecca Fisher Stoltzfus, made of wool in 1903 near Groffdale, Pennsylvania, 77 inches square. Writing about another example in that collection, Stacy C. Hollander describes fine solid-color woolens, a narrow inner border and a wide outer border with large corner blocks, and notes that most surviving examples were made in the twentieth century. This pattern follows that structure.
Today most quilters make it in cotton solids, which are easier to find and to wash than fine wool. The construction is the same.
Choosing colors
You need three colors that are close in value but clearly different in hue. That closeness is what makes these quilts glow. Deep red, plum or purple, dark green, teal and blue are the usual family. Put the strongest color in the diamond, a darker one in the field and outer border, and a third in the inner border and corner blocks. Skip white and very pale solids. The quilting would show beautifully, but the quilt would read as a different style.
Fabric
| Fabric | Used for | Yardage |
|---|---|---|
| A (diamond) | One 29½-in square | ⅞ yd |
| B (field and outer border) | Four corner triangles and four outer borders | 2¾ yd |
| C (inner border and corner blocks) | Five 4-in strips and four 11½-in squares | 1¼ yd |
| Binding | Eight 2½-in strips | ⅝ yd |
| Backing | Two 78-in lengths, seamed | 4½ yd |
| Batting | At least 78 × 78 in | Full size (81 × 96 in) or larger |
Yardage assumes 40 usable inches of width. Fabric B is cut lengthwise so the outer borders have no seams; on a plain solid, a seam across a border is easy to spot.
Cutting
- Fabric A: cut one 29½-inch square. Cut carefully and check it with a square ruler or by measuring both diagonals (they should match).
- Fabric B: cut the 2¾ yd into two equal lengths of about 49½ inches. From the first length, cut three strips 11½ × 48½ inches along the length of the fabric (parallel to the selvage). From the second length, cut one more 11½ × 48½-inch strip the same way, then cut two 22-inch squares from the remaining piece. Cut both squares once on the diagonal to make four triangles.
- Fabric C: cut five strips 4 inches × the width of the fabric for the inner border, and two strips 11½ inches wide. From the wide strips, cut four 11½-inch squares.
- Binding: cut eight strips 2½ inches × the width of the fabric.
The triangles are cut slightly oversized (a 21⅜-inch square would be exact) so you can trim the center unit to a perfect square afterward.
Make the center
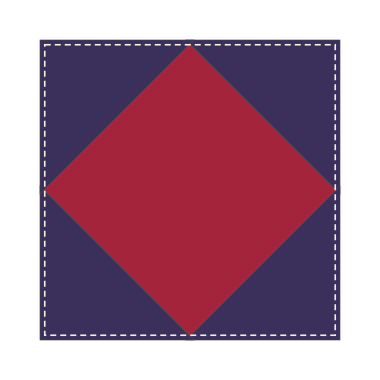
- Fold the diamond square in half and finger-press a crease at the middle of each side. Fold each triangle in half along its long edge and crease the middle.
- Pin a triangle to one side of the square, long edge to the side, creases matched. The triangle's ends extend past the square at both ends. Sew with a ¼-inch seam. Sew a second triangle to the opposite side. Press toward the triangles.
- Sew the remaining two triangles to the other two sides the same way. Press.
- The long edges of the triangles are bias, so they stretch. Handle the unit flat, and press by lifting the iron rather than sliding it.
- Trim the unit to 41½ inches square. Line up the ruler so the trimmed edge passes ¼ inch beyond each point of the diamond, which is where the seam will be. Check that all four points sit the same distance from the edges. When the inner border is sewn on, the points just touch it.
Borders
- Inner border: join the five 4-inch strips end to end. Cut two pieces 41½ inches long and sew them to opposite sides of the center. Press toward the border. Cut two pieces 48½ inches long and sew them to the top and bottom. The quilt now measures 48½ inches square.
- Outer border: sew one 11½ × 48½-inch fabric B strip to each side. Press toward the border.
- Sew a fabric C corner block to each end of the remaining two strips. Each strip now measures 11½ × 70½ inches. Sew them to the top and bottom, matching the corner block seams to the inner border seams. The top measures 70½ inches square.
If your center came out a little different from 48½ inches after the inner border, cut the outer borders to your measurement. How to add borders covers measuring through the middle.
Quilting is the point
A center diamond is mostly plain fabric, so the quilting carries the design. The Met's quilt is a good model: a star in the middle of the diamond, feather wreaths circling it, small pumpkin-seed shapes in the narrow border and a flowing feather along the wide outer border. A simpler plan that keeps the same spirit is a feathered wreath in the diamond with a 1-inch crosshatch filling the rest of it, a cable or feather in the corner triangles and outer border, and a smaller wreath or star in each corner block. Mark the designs with a removable marker before basting.
Hand quilting suits this pattern better than any other on the site; our guide to hand quilting covers needles and stitch length. On a machine, a walking-foot crosshatch on 1-inch or 1½-inch lines across the whole center, with straight lines in the borders, still looks good and is far quicker. Use thread that blends with each section, or black throughout.
Seam the two 78-inch backing lengths for a backing about 79½ × 78 inches, layer, baste and quilt. Bind with the eight 2½-inch strips (perimeter 280 inches; joined, they give about 316). A binding in the inner border color frames the quilt the way the corner blocks do.
Other sizes
| Version | Diamond (cut) | Triangles from | Trim center to | Inner border (cut) | Outer border and corners (cut) | Finished |
|---|---|---|---|---|---|---|
| Wall hanging | 17½-in square | Two 13½-in squares | 24½ in | 2½ in wide: 24½ and 28½ in long | 6½ × 28½ in strips, 6½-in corners | 40 × 40 in |
| This pattern | 29½-in square | Two 22-in squares | 41½ in | 4 in wide: 41½ and 48½ in long | 11½ × 48½ in strips, 11½-in corners | 70 × 70 in |
| Larger throw | 29½-in square | Two 22-in squares | 41½ in | 4 in wide: 41½ and 48½ in long | 14½ × 48½ in strips, 14½-in corners | 76 × 76 in |
The 40-inch wall hanging is a manageable first hand-quilting project and suits a narrow wall. For the 76-inch version, the 14½-inch outer borders no longer fit three across the fabric, so plan the cutting for fabric B again (StitchTested's fabric guide helps).
This is a quilt people hand down. Add a label with your name, the date and who it was made for. More free patterns: see them all. This pattern is free for personal and charity use; please don't sell the pattern itself.
You might also like
 Nine-patch throw quiltThe classic first quilt, a 53 x 71 in throw with only squares to cut and sew.
 Log cabin quiltThe classic block of narrow logs around a red center, 30 blocks for a 60 x 72 in throw.
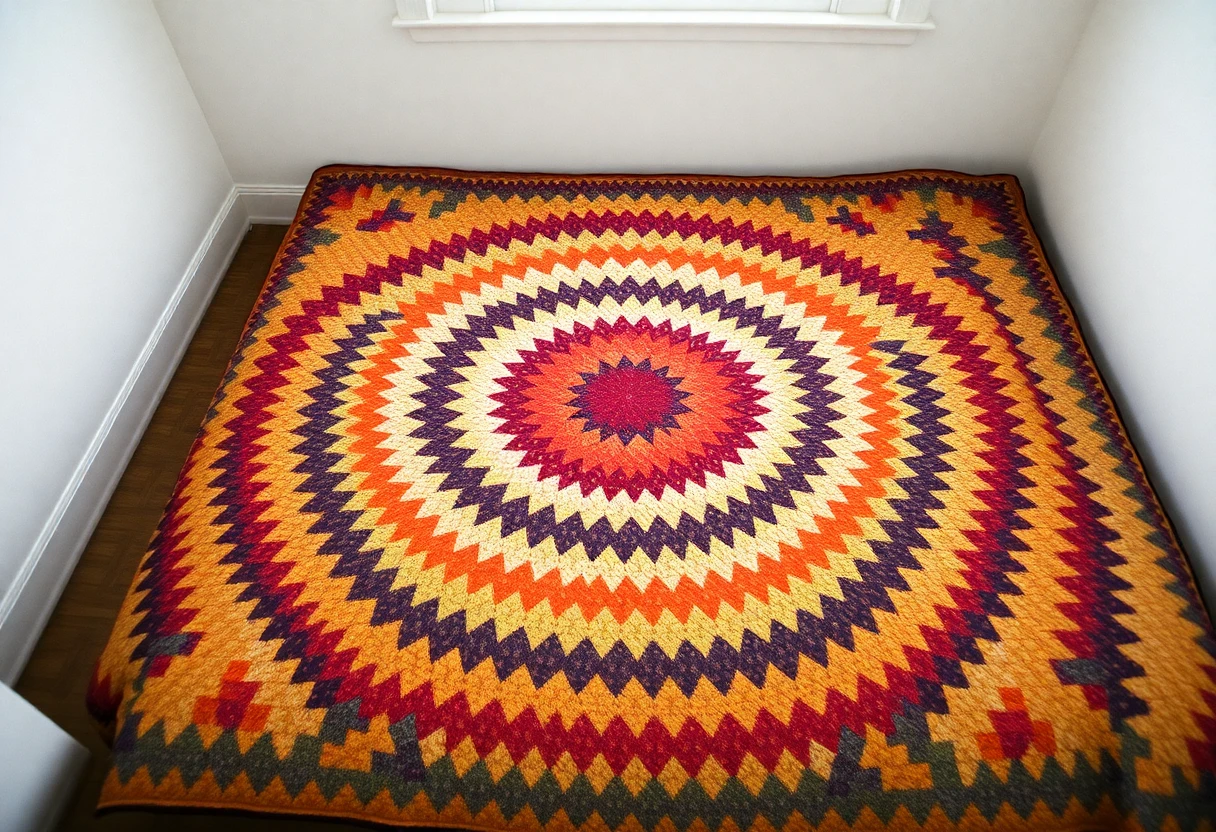 Trip around the world quiltRings of color spreading out from the center, sewn from strip-set tubes instead of a thousand single squares; 71 in square.
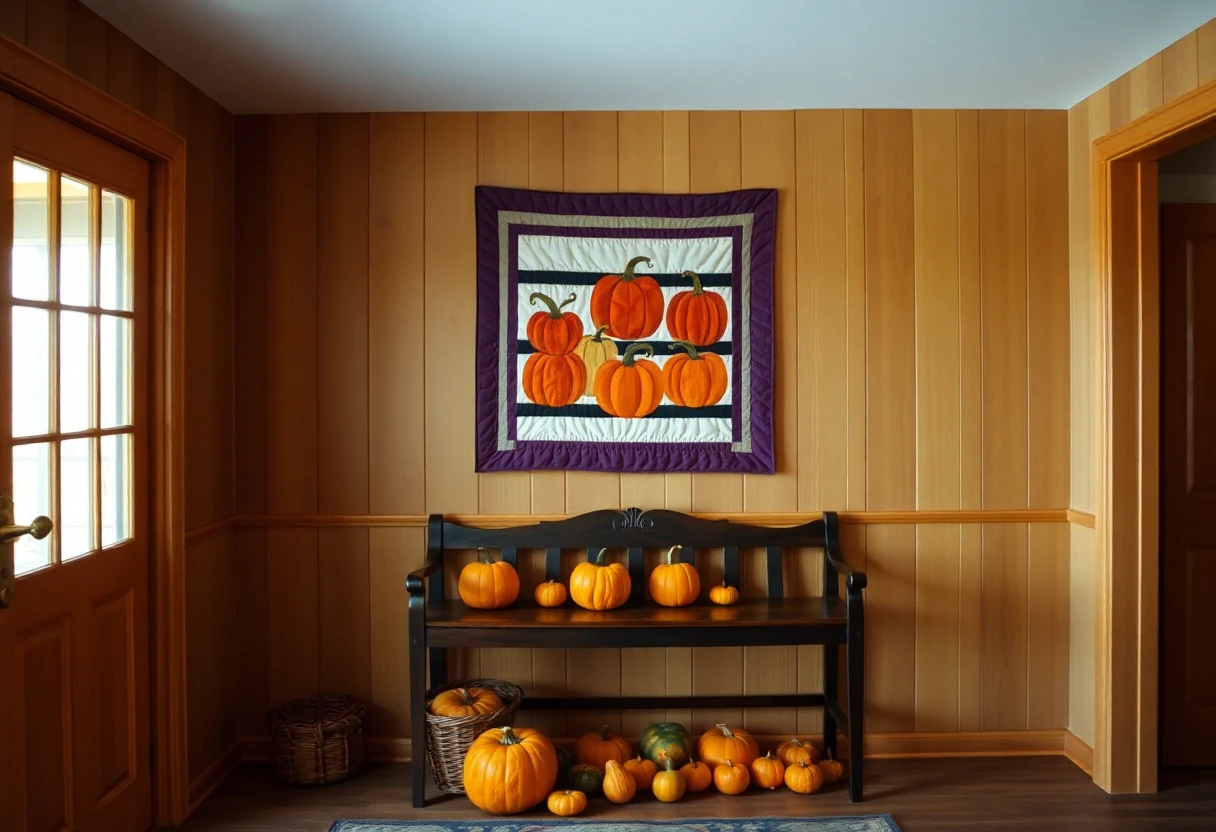 Pumpkin patch Halloween wall hangingNine pieced pumpkins with black sashing and a purple border, 38 in square, with a table runner version.